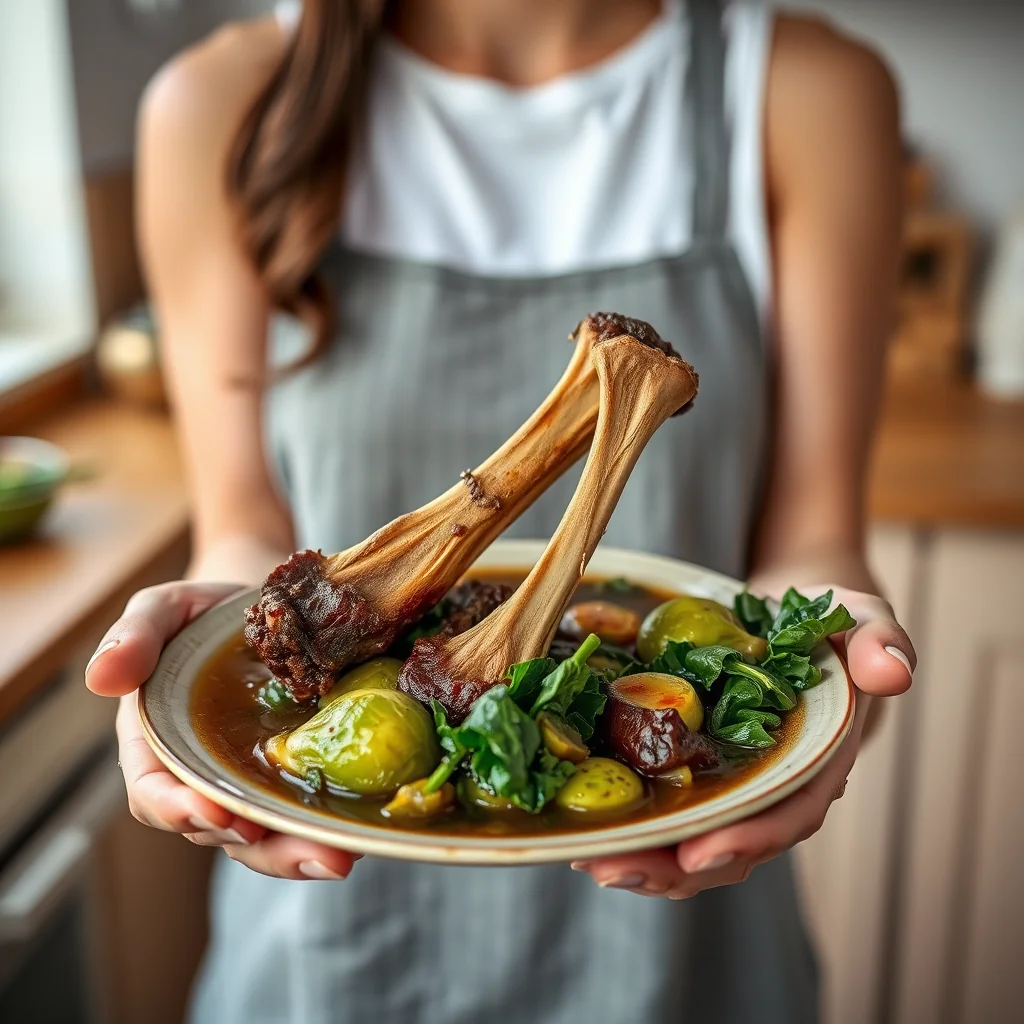
Pressure Cooker Beef Bone Broth with Brussels Sprouts & Spinach is the kind of kitchen staple that pays you back all week. The pressure cooker pulls deep, savory flavor from beef knuckle bones in just 20 minutes, while spinach and Brussels sprouts give the broth extra body. Sip it warm from a mug or use it as a rich base for your favorite keto soups and stews.
There’s nothing quite like a warm, comforting mug of homemade bone broth. This recipe harnesses the power of your pressure cooker to extract all the goodness from beef bones, spinach, and Brussels sprouts in a fraction of the time. It’s a nutrient-dense elixir that’s perfect for sipping on its own or using as a rich base for your favorite soups and stews. Get ready to make the easiest, most flavorful broth of your life!
Ingredients
• 2 lbs / 900g (31.7 oz) beef knuckle bones
• 2 cups / 200g Brussels sprouts
• 7 oz / 200g spinach, torn
• 2 tbsp / 28g unsalted butter
• ¼ cup / 60ml apple cider vinegar
• Spices
• 2 bay leaves
• 1 tsp (5 ml) salt
• 2 tsp (10 ml) whole peppercorns
Instructions
1. Directions
2. Combine : Place the beef bones, spinach, and Brussels sprouts into the inner pot of your pressure cooker. Pour in just enough water to cover the .
3. Add Seasonings: Add the apple cider vinegar, bay leaves, salt, and peppercorns to the pot.
4. Pressure Cook: Seal the lid and set the steam release handle to the ‘Sealing’ position. Press the ‘Manual’ or ‘Pressure Cook’ button and set the timer for 20 minutes on high pressure.
5. Natural Release: When the cooking time is complete, allow the pressure to release naturally. Once the float valve has dropped, carefully open the lid.
6. Finish the Broth: Stir in the butter until it has completely melted. Allow the broth to cool for a while.
7. Strain and Store: Strain the liquid through a fine-mesh sieve to remove all solids. Cool the broth completely, then transfer it to glass jars with tight-fitting lids and refrigerate until use.
Nutritional Information
• Per Serving: Calories 44 | Total Fats: 3.6g (0.13 oz) | Net Carbs: 0.7g (0.02 oz) | Protein: 1.8g (0.06 oz) | Fiber: 0.3g (0.01 oz)
Pro Tips for Success
• For a deeper, richer flavor, roast the beef bones at 400°F / 200°C for 20-30 minutes before adding them to the pot.
• For an exceptionally clear broth, strain it a second time through a sieve lined with cheesecloth.
• After the broth has chilled completely in the refrigerator, a layer of fat will solidify on top. You can easily skim this off for a leaner result.
• Freeze the finished broth in ice cube trays for convenient, single-serving portions to add a flavor boost to sauces, grains, or sautés.
FAQ
Q: How do I get a richer flavor in my bone broth
A: For a deeper, richer flavor, roast the beef bones on a baking sheet at 400°F / 200°C for 20-30 minutes before adding them to your pressure cooker. This caramelizes the bones and adds significant depth to the final broth.
Q: Why is apple cider vinegar added to this recipe
A: Apple cider vinegar is an important ingredient as its acidity helps to break down the collagen and connective tissue in the beef bones. This process extracts more valuable nutrients and minerals into the broth, making it more nutrient-dense.
Q: What is the best way to store homemade bone broth
A: Once the broth has cooled completely, store it in glass jars with tight-fitting lids in the refrigerator. For longer-term storage and convenient single servings, you can freeze the broth in ice cube trays.
Q: How can I make my pressure cooker bone broth less fatty
A: To create a leaner broth, first chill it completely in the refrigerator. A layer of fat will solidify on the top, which you can then easily skim off with a spoon before reheating or using.
Pro Tips for Success
- Roast the beef knuckle bones at 400°F / 200°C for 20-30 minutes before pressure cooking — it gives the finished broth a noticeably deeper, richer flavor.
- Add the apple cider vinegar before cooking: it helps draw minerals out of the bones during the 20-minute high-pressure cycle and the natural release.
- For an exceptionally clear broth, strain it twice — the second time through a fine-mesh sieve lined with cheesecloth.
- Once the broth is fully chilled, a layer of fat solidifies on top. Skim it off for a leaner broth, or leave it in if you want the extra keto fats.
- Freeze the finished broth in ice cube trays so you can drop single-serving portions straight into sauces and sautés.
Frequently Asked Questions
Can I make this beef bone broth ahead of time?
Absolutely. Cool the broth completely, pour it into glass jars with tight-fitting lids, and refrigerate until you need it. Like most broths, it tastes even better the next day.
Does this broth freeze well?
Very well. Freeze it in ice cube trays for convenient single-serving portions that are ready to add a flavor boost to sauces, grains, or sautés.
Is this bone broth keto-friendly?
Yes — each serving has just 0.7g net carbs and 3.6g fat, most of it from the butter stirred in at the end. It fits easily into a keto day.
Why add apple cider vinegar to bone broth?
The vinegar helps draw minerals from the beef bones as they cook. The pressure cycle plus the natural release gives it plenty of time to work.
Recipe card below.
Pressure Cooker Beef Bone Broth with Brussels Sprouts & Spinach
Ingredients
Method
- Directions
- Combine : Place the beef bones, spinach, and Brussels sprouts into the inner pot of your pressure cooker.
- Pour in just enough water to cover the .
- Add Seasonings: Add the apple cider vinegar, bay leaves, salt, and peppercorns to the pot.
- Pressure Cook: Seal the lid and set the steam release handle to the ‘Sealing’ position. Press the ‘Manual’ or ‘Pressure Cook’ button and set the timer for 20 minutes on high pressure.
- Natural Release: When the cooking time is complete, allow the pressure to release naturally.
- Once the float valve has dropped, carefully open the lid.
- Finish the Broth: Stir in the butter until it has completely melted. Allow the broth to cool for a while.
- Strain and Store: Strain the liquid through a fine-mesh sieve to remove all solids.
- Cool the broth completely, then transfer it to glass jars with tight-fitting lids and refrigerate until use.
- After the broth has chilled completely in the refrigerator, a layer of fat will solidify on top. You can easily skim this off for a leaner result.
- Freeze the finished broth in ice cube trays for convenient, single-serving portions to add a flavor boost to sauces, grains, or sautés.