Homemade Dark Chocolate Peanut Butter Cups are a no-bake treat with a velvety 85% dark chocolate shell around a creamy, lightly sweetened peanut butter center. They take 20 minutes of hands-on time and mostly just chill. A pinch of flaky sea salt on top makes them taste far fancier than the effort.
Craving something sinfully delicious but surprisingly simple? Look no further! These homemade Dark Chocolate Peanut Butter Cups are the answer to your dessert dreams. We’re talking a rich, velvety dark chocolate shell encasing a creamy, perfectly sweetened peanut butter center. Forget the store-bought versions; this no-bake recipe is not only incredibly easy but also uses wholesome ingredients for a treat you can feel good about. Get ready to fall in love with your new favorite indulgence!
Ingredients
• 8 oz / 227g 85% cacao dark chocolate, chopped
• 1/4 cup / 60ml coconut oil
• 3/4 cup / 190g (6.7 oz) unsweetened creamy peanut butter
• 2 tbsp / 30ml raw honey or maple syrup
• 1/8 tsp sea salt
Instructions
1. Line a standard muffin tin with paper or silicone liners.
2. Create a double boiler by placing a heatproof bowl over a saucepan of simmering water. Add the chopped dark chocolate and coconut oil to the bowl, stirring occasionally until completely melted and smooth.
3. Spoon about 1 tablespoon (15 ml / 0.5 fl oz) of the melted chocolate mixture into the bottom of each muffin liner, just enough to cover the base. Place the tin in the freezer for 10-15 minutes, or until the chocolate is firm.
4. While the chocolate base chills, prepare the filling. In a separate medium bowl, whisk together the unsweetened peanut butter, raw honey, and sea salt until well combined and smooth.
5. Remove the muffin tin from the freezer. Spoon about 1-2 teaspoons (10 ml / 0.3 fl oz) of the peanut butter mixture onto the center of each hardened chocolate base.
6. Carefully pour the remaining melted chocolate over the peanut butter layer, ensuring it’s fully covered.
7. Place the muffin tin in the refrigerator for at least 2 hours, or until the cups are completely firm. Store in an airtight container in the refrigerator.
Nutritional Information
• Per serving (assumes 4 servings)
• Calories: 240
• Fat: 20g
• Protein: 5g
• Total Carbohydrate: 13g (0.46 oz)
• Dietary Fiber: 3g
• Net Carbohydrate: 10g (0.35 oz)
Pro Tips
• For a crunchier texture, use crunchy peanut butter or add a teaspoon of chia seeds to the filling.
• If your peanut butter is very thick, warm it slightly in the microwave for 15-20 seconds to make it easier to mix and spread.
• Sprinkle a pinch of flaky sea salt on top of the final chocolate layer before refrigerating for a gourmet touch and a delightful flavor contrast.
• For a vegan version, simply substitute the raw honey with an equal amount of maple syrup or agave nectar.
FAQ
Q: Can I make these peanut butter cups vegan
A: Yes, this recipe is easily made vegan. Simply substitute the raw honey with an equal amount of maple syrup or agave nectar in the peanut butter filling.
Q: How do I store homemade peanut butter cups
A: For best results, store your homemade peanut butter cups in an airtight container in the refrigerator. They need to be kept cool to stay firm.
Q: What kind of peanut butter is best for this recipe
A: The recipe calls for unsweetened creamy peanut butter for a smooth filling. However, you can use crunchy peanut butter if you prefer more texture.
Q: Why is coconut oil added to the chocolate
A: Coconut oil helps the dark chocolate melt smoothly and creates a velvety shell that firms up perfectly when chilled.
Pro Tips
- Warm very thick peanut butter in the microwave for 15-20 seconds so it mixes and spreads easily over the chocolate base.
- Freeze the chocolate base layer 10-15 minutes until firm before adding the peanut butter, so the layers stay distinct.
- For a crunchier texture, use crunchy peanut butter or add a teaspoon of chia seeds to the filling.
- Sprinkle flaky sea salt on the final chocolate layer before refrigerating for a gourmet flavor contrast.
- Store the finished cups in an airtight container in the refrigerator so the chocolate stays firm.
Frequently Asked Questions
Do I need to bake peanut butter cups?
No baking at all — the chocolate is melted in a double boiler, and the cups firm up in the refrigerator for at least 2 hours.
How do I store homemade peanut butter cups?
Keep them in an airtight container in the refrigerator so the chocolate shell and peanut butter center stay firm.
Are these peanut butter cups keto-friendly?
Per serving there are 10 g net carbs (13 g total carbs with 3 g fiber) with 5 g protein and 20 g fat, mostly from the peanut butter, dark chocolate, and coconut oil.
Can I make a vegan version?
Simply substitute the raw honey with an equal amount of maple syrup or agave nectar in the filling.
Recipe card below.
More Recipes You’ll Love
- A Taste of Legend: The Secret to Perfect Lamb Kleftiko
- Keto Cheese Shell Taco Cups
- Instant Pot Creamy Garlic Mushrooms
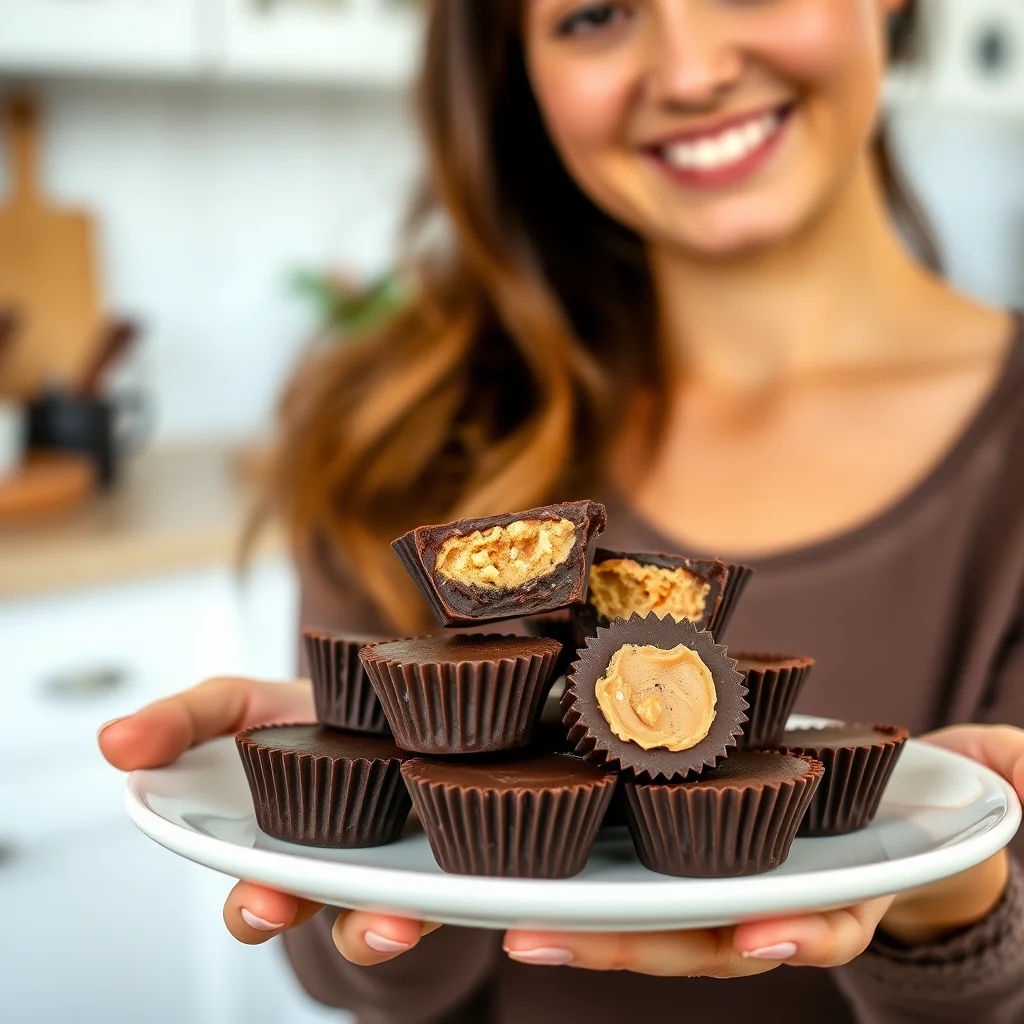
Homemade Dark Chocolate Peanut Butter Cups
Ingredients
Method
- Line a standard muffin tin with paper or silicone liners.
- Create a double boiler by placing a heatproof bowl over a saucepan of simmering water.
- Add the chopped dark chocolate and coconut oil to the bowl, stirring occasionally until completely melted and smooth.
- Spoon about 1 tablespoon (15 ml / 0.5 fl oz) of the melted chocolate mixture into the bottom of each muffin liner, just enough to cover the base.
- Place the tin in the freezer for 10-15 minutes, or until the chocolate is firm.
- While the chocolate base chills, prepare the filling.
- In a separate medium bowl, whisk together the unsweetened peanut butter, raw honey, and sea salt until well combined and smooth.
- Remove the muffin tin from the freezer. Spoon about 1-2 teaspoons (10 ml / 0.3 fl oz) of the peanut butter mixture onto the center of each hardened chocolate base.
- Carefully pour the remaining melted chocolate over the peanut butter layer, ensuring it's fully covered.
- Place the muffin tin in the refrigerator for at least 2 hours, or until the cups are completely firm. Store in an airtight container in the refrigerator.
- Sprinkle a pinch of flaky sea salt on top of the final chocolate layer before refrigerating for a gourmet touch and a delightful flavor contrast.