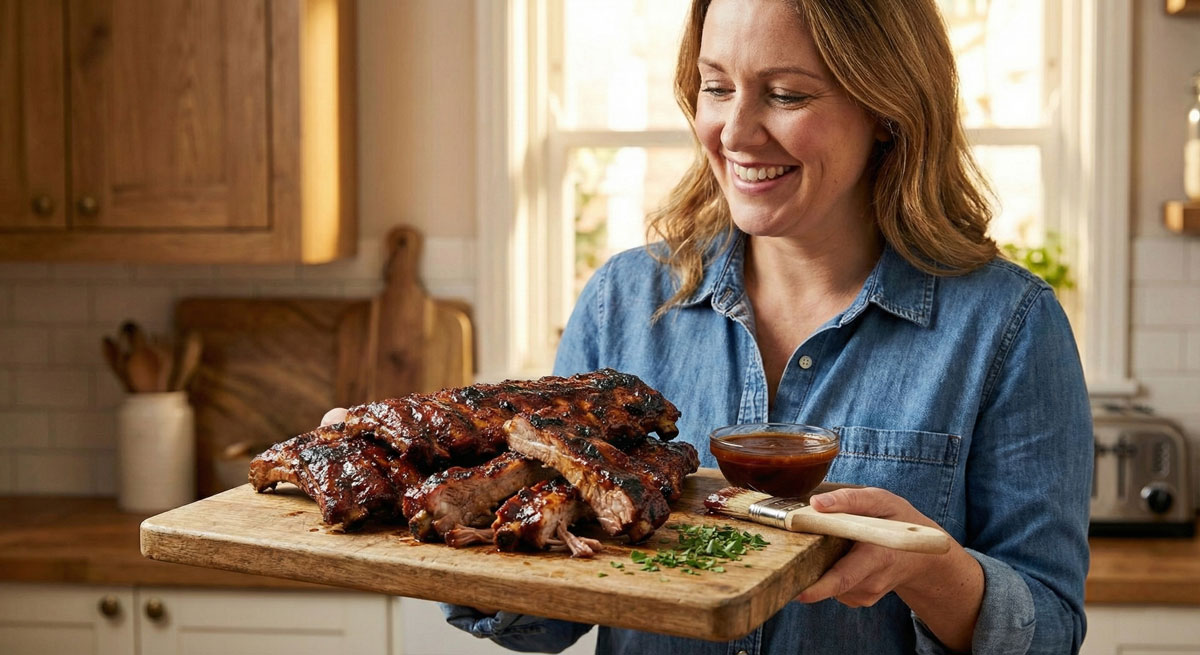
Craving those melt-in-your-mouth, fall-off-the-bone ribs you only get at your favorite BBQ joint? What if I told you the secret to achieving that same incredible texture and deep, smoky flavor was waiting right in your oven? Don’t be intimidated by the cook time—most of it is completely hands-off! This recipe is your ticket to legendary homemade ribs, all thanks to a simple, low-and-slow baking method and my signature Tennessee Dry Rub that packs a smoky, slightly sweet punch. Get ready to wow everyone, including yourself!
Ingredients
• 2 full racks St. Louis–style spareribs, about 3 lbs / 1.4 kg each
• 2 tbsp / 30 ml avocado oil
• 1 batch Tennessee Dry Rub
Instructions
1. Prep the Oven and Pan: Preheat your oven to 275°F / 135°C. Line a large, rimmed baking sheet with aluminum foil for easy cleanup later.
2. Prepare the Ribs: Pat the ribs completely dry with paper towels. On the bone side of each rack, slide a butter knife under the thin, silvery membrane and lift. Grab the membrane with a paper towel for a better grip and pull it off completely. This is the key to truly tender ribs, so don’t skip it!
3. Season Generously: Brush the avocado oil over both sides of the ribs. Sprinkle the Tennessee Dry Rub all over, making sure to cover every surface. Use your hands to gently massage the rub into the meat. Place the ribs on your prepared baking sheet, bone side down.
4. Marinate (Optional but Recommended): For the most flavor, cover the ribs and refrigerate for at least 1 hour or up to 6 hours. This allows the rub to penetrate the meat. If you’re short on time, you can proceed directly to baking.
5. Bake Low and Slow: Bake for 3 hours and 30 minutes. You’ll know they’re done when the meat is incredibly tender and has pulled back from the bones.
6. Rest and Serve: Let the ribs rest for 10 minutes before slicing between the bones. Serve warm. Leftovers can be stored in an airtight container in the refrigerator for up to 5 days.
Nutritional Information
• Yield: 8 servingsPrep time: 10 minutes (plus marinating time)Cook time: 3 hours 30 minutes is an estimate and will vary based on the exact used.
Pro Tips
• For a stubborn membrane, use a paper towel to get a firm, non-slip grip after you’ve lifted an edge with a knife.
• To check for doneness, carefully lift one end of the rack with tongs. If the rack bends easily in the middle and the meat begins to crack on the surface, they’re ready.
• For a final crispy crust, place the ribs under the broiler for 2-3 minutes after they’re done baking. Watch carefully to prevent burning!
FAQ
Q: Why do I need to remove the membrane from the ribs
A: Removing the thin, silvery membrane from the bone-side of the ribs is the key to making them truly tender. This step allows the dry rub to penetrate the meat more effectively and prevents the ribs from being tough after cooking.
Q: How do I know when my oven-baked ribs are done
A: You’ll know the ribs are perfectly cooked when the meat is incredibly tender and has visibly pulled back from the ends of the bones. You can also test them by lifting one end of the rack with tongs; if it bends easily in the middle and the meat’s surface begins to crack, they’re ready.
Q: Can I make these ribs without marinating them first
A: Yes, if you are short on time you can proceed directly to baking after applying the rub. However, for the most flavor, the recipe recommends letting the ribs marinate in the refrigerator for at least 1 hour and up to 6 hours to allow the spices to fully penetrate the meat.
Q: How can I get a crispy crust on my ribs
A: For a final crispy crust, place the fully baked ribs under your oven’s broiler for 2-3 minutes. Be sure to watch them carefully during this step to prevent the dry rub from burning.