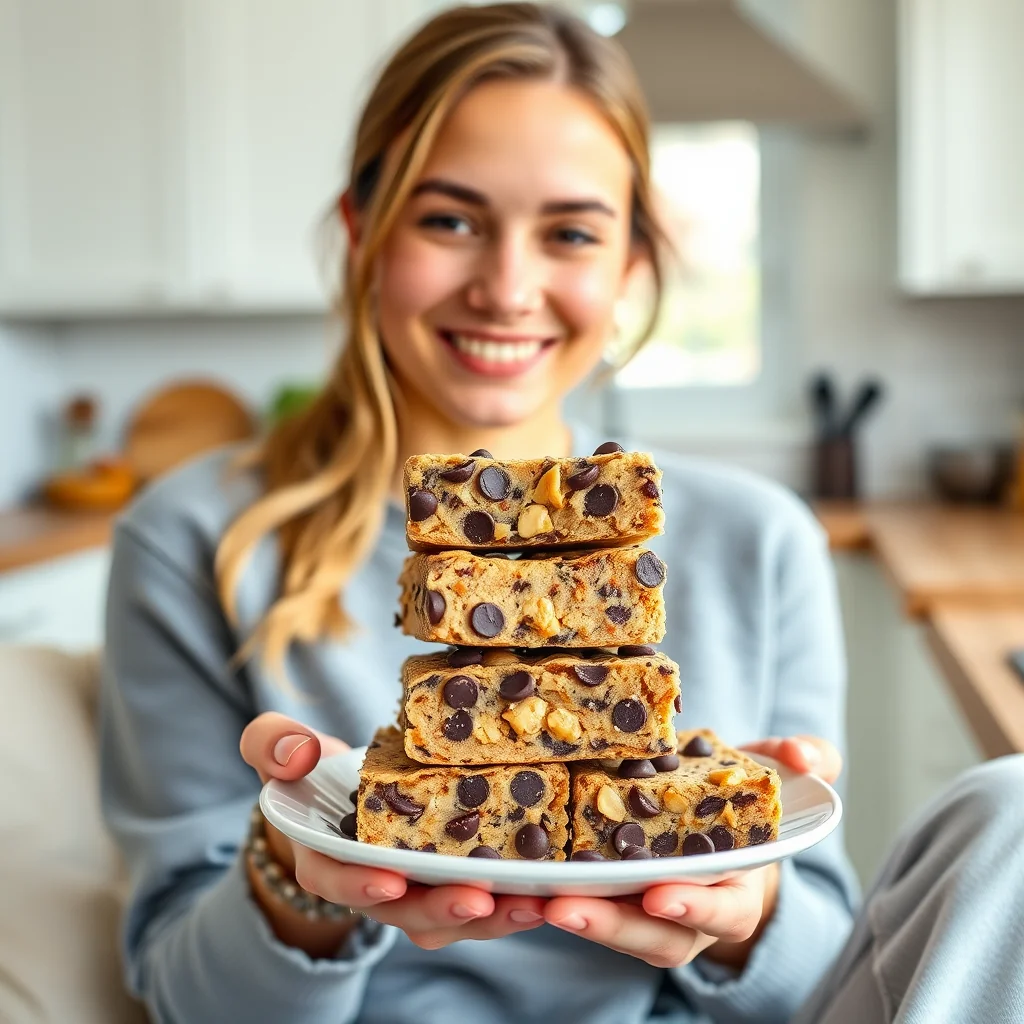
Flourless peanut butter chocolate chip bars (keto-friendly) are a pantry-baker's dream — no flour, no mixer, one bowl and a wooden spoon. They bake in about 15 minutes into chewy, fudgy bars studded with sugar-free chocolate chips. Just resist cutting them warm.
Is there any combination more iconic or delicious than chocolate and peanut butter? It’s a match made in dessert heaven! I’ve always loved classic peanut butter treats, but these bars take it to a whole new level. The most magical part? They are completely flourless, yet they have the most incredible fudgy, chewy texture. You simply mix everything in one bowl and bake. It’s a simple, guilt-free recipe that will have everyone asking for more!
Ingredients
• 1 cup / 250g (8.8 oz) natural peanut butter, crunchy or smooth
• 2 large eggs
• ½ cup / 85g (3 oz) sugar-free chocolate chips
• ½ cup / 100g (3.5 oz) granular erythritol
• 1 teaspoon / 4g (0.14 oz) baking powder
• ½ teaspoon / 2.5ml vanilla extract
• 5 drops liquid stevia
Instructions
1. Prepare your oven and pan: Preheat the oven to 375°F / 190°C. Grease an 8-inch square baking pan or line it with parchment paper for easy removal.
2. Mix the batter: In a large mixing bowl, combine the peanut butter, eggs, chocolate chips, erythritol, baking powder, vanilla, and stevia. Using a wooden spoon or spatula, stir until the are well combined into a thick batter.
3. Bake to perfection: Spread the mixture evenly into your prepared pan. Bake for 14 to 16 minutes, until the edges are lightly browned and the center appears set. Watch them closely after 14 minutes to prevent overbaking.
4. Cool completely: Allow the bars to cool completely in the pan on a wire rack. They will be very soft out of the oven but will firm up as they cool. Once fully cooled, cut into 12 bars. Leftovers can be stored in an airtight container for up to a week.
Nutritional Information
• Recipe Facts
• Yield: 12 bars
• Serving Size: 1 bar
• This recipe is naturally gluten-free.
• This recipe is low-carb and keto-friendly.
Pro Tips
• Do not overbake! The key to a chewy, fudgy texture is to pull the bars from the oven when the center is just set. They will continue to cook and firm up in the hot pan as they cool.
• Let them cool completely. This step is non-negotiable! Cutting into the bars while they are still warm will cause them to crumble. Patience is rewarded with perfectly firm, sliceable bars.
• For a gourmet touch, sprinkle a little flaky sea salt over the top of the batter just before baking. It beautifully enhances the sweet and salty flavors of the chocolate and peanut butter.
• Feel free to swap the peanut butter for natural almond butter or even sunflower seed butter for a nut-free alternative. Ensure it’s a natural, drippy-style butter for the best texture.
FAQ
Q: Are these peanut butter bars keto-friendly
A: Yes, this recipe is specifically designed to be low-carb and keto-friendly. It uses sugar substitutes like erythritol and stevia, along with sugar-free chocolate chips, and contains no flour.
Q: Can I use a different nut butter in this recipe
A: Absolutely. You can swap the natural peanut butter for natural almond butter. For a nut-free alternative, you can use sunflower seed butter. Be sure to use a natural, drippy-style butter for the best texture.
Q: Why did my flourless peanut butter bars fall apart
A: The bars may be crumbly if they were cut while still warm or if they were overbaked. It is crucial to let them cool completely in the pan, as they firm up significantly during the cooling process. Overbaking can also lead to a dry, crumbly texture.
Q: What kind of peanut butter is best for these bars
A: This recipe works best with a natural, drippy-style peanut butter. You can use either crunchy or smooth varieties based on your personal preference.
Pro Tips
- Pull the bars from the oven when the edges are lightly browned and the center just looks set — they keep firming up in the hot pan as they cool.
- Cool the bars completely before cutting; slicing them warm is the one thing that makes them crumble instead of holding together.
- Sprinkle a little flaky sea salt over the batter just before baking — it beautifully plays up the sweet-salty pairing of chocolate and peanut butter.
- Swap the peanut butter for natural almond butter, or sunflower seed butter for a nut-free version — use a natural, drippy-style butter for the best texture.
- Store the cooled bars in an airtight container for up to a week.
Frequently Asked Questions
Are these flourless peanut butter bars keto?
The recipe is written as low-carb and keto-friendly — there's no flour at all, and the sweetness comes from granular erythritol, liquid stevia, and sugar-free chocolate chips.
Why did my bars crumble when I cut them?
They were cut while still warm. Let the bars cool completely in the pan on a wire rack — they firm up as they cool and slice cleanly once set.
Can I use almond butter instead of peanut butter?
Yes — natural almond butter works as a straight swap, and sunflower seed butter makes them nut-free. Whichever you choose, use a natural, drippy-style butter.
How should I store the bars?
Once fully cooled and cut, keep them in an airtight container at room temperature for up to a week.
Recipe card below.
More Recipes You’ll Love
- Chocolate Trail Mix Clusters
- Salmon Avocado Cucumber Bites
- No-Bake Peppermint Hazelnut Chocolate Bars
Flourless Peanut Butter Chocolate Chip Bars (Keto-Friendly)
Ingredients
Method
- Prepare your oven and pan: Preheat the oven to 375°F / 190°C.
- Grease an 8-inch square baking pan or line it with parchment paper for easy removal.
- Mix the batter: In a large mixing bowl, combine the peanut butter, eggs, chocolate chips, erythritol, baking powder, vanilla, and stevia.
- Using a wooden spoon or spatula, stir until the are well combined into a thick batter.
- Bake to perfection: Spread the mixture evenly into your prepared pan.
- Bake for 14 to 16 minutes, until the edges are lightly browned and the center appears set. Watch them closely after 14 minutes to prevent overbaking.
- Cool completely: Allow the bars to cool completely in the pan on a wire rack. They will be very soft out of the oven but will firm up as they cool.
- Once fully cooled, cut into 12 bars. Leftovers can be stored in an airtight container for up to a week.
- Do not overbake! The key to a chewy, fudgy texture is to pull the bars from the oven when the center is just set. They will continue to cook and firm up in the hot pan as they cool.
- Let them cool completely. This step is non-negotiable!
- Cutting into the bars while they are still warm will cause them to crumble.
- Patience is rewarded with perfectly firm, sliceable bars.