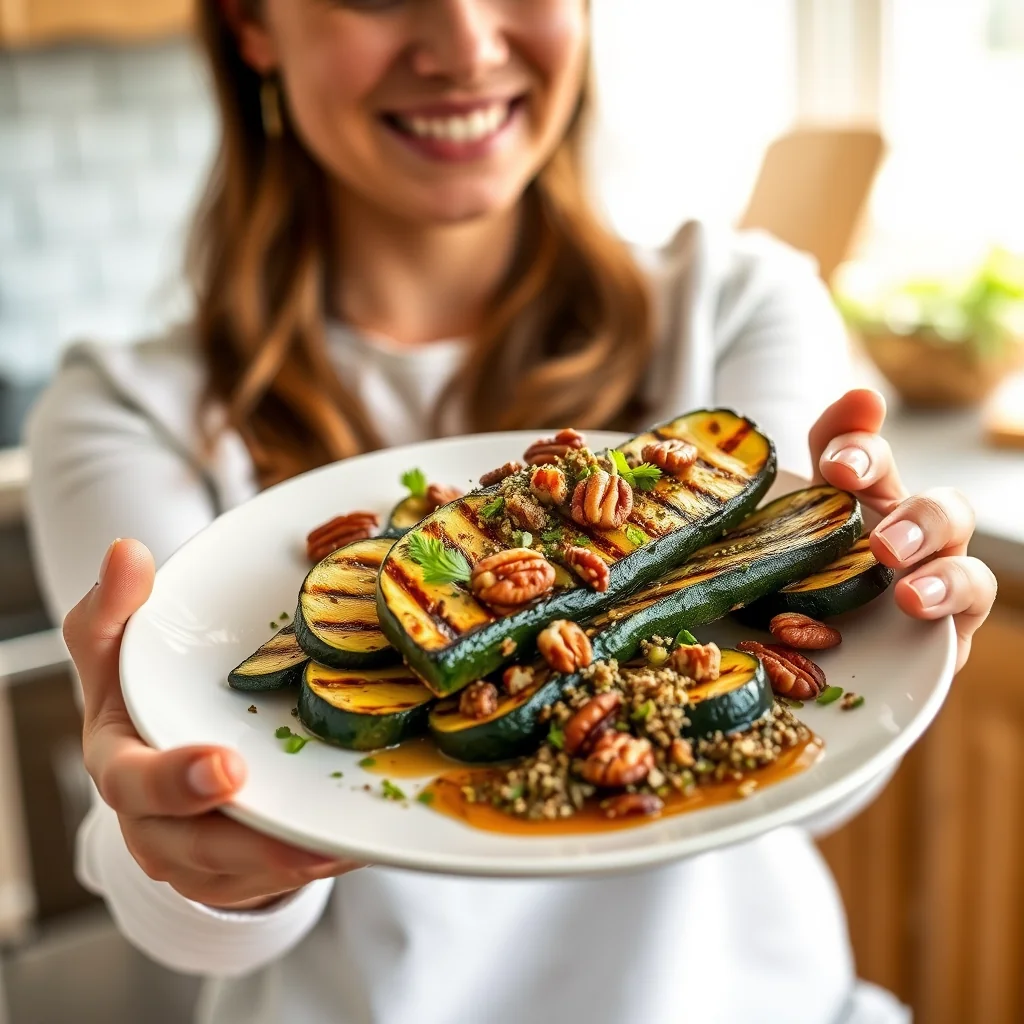
Instant Pot Garlic Butter Green Beans is the simplest kind of good: crisp-tender green beans tossed with butter and freshly minced garlic. Everything goes into the pot at once and comes out glossy and fragrant minutes later. At 88 calories a serving, it is the side you end up making twice a week.
Tired of boring, mushy green beans? Say hello to your new favorite side dish! These Instant Pot Garlic Butter Green Beans are incredibly fast, perfectly tender-crisp, and bursting with savory flavor. In just 20 minutes, you can have a healthy and elegant side that pairs beautifully with chicken, steak, or fish. Let’s get cooking!
Ingredients
• (Total Time: 20 MINS| Serves: 4)
• 1 pound (about 450g / 15.9 oz) fresh green beans, trimmed
• 2 tablespoons butter
• 2 cloves garlic, freshly minced
• 1 ½ cups water
• Salt and freshly ground black pepper, to taste
Instructions
1. Directions1. Add the green beans, butter, minced garlic, water, salt, and pepper to the inner pot of the Instant Pot. Stir gently to combine.2. Secure the lid and turn the pressure release valve to the “Sealing” position.3. Select “Manual” or “Pressure Cook” and set the timer to 5 minutes on High Pressure.4. When the cooking cycle is complete, carefully perform a Quick Release by turning the valve to the “Venting” position.5. Once the float valve drops, remove the lid. Taste and adjust seasoning if necessary, then serve hot.
Nutritional Information
• (Per Serving)Calories: 88 | Total Fat: 5.9g (0.21 oz) | Net Carbs: 2.15g (0.08 oz) | Protein: 2.2g (0.08 oz) | Fiber: 3.9g (0.14 oz)
Pro Tips for Success
• For a brighter flavor, squeeze the juice of half a lemon over the green beans just before serving.
• After cooking, toss with toasted slivered almonds or crispy bacon bits for added texture and crunch.
• For more tender green beans, increase the cook time to 6 minutes. For a very crisp bean, reduce to 4 minutes.
FAQ
Q: How can I adjust the texture of my green beans
A: For more tender green beans, increase the cook time to 6 minutes. If you prefer a very crisp texture, reduce the cook time to 4 minutes.
Q: Can I use frozen green beans for this recipe
A: This recipe is designed for fresh green beans to achieve the best tender-crisp result. Using frozen green beans may lead to a mushier texture and would require adjustments to the cooking time.
Q: What are some good additions to these green beans
A: For a brighter flavor, squeeze fresh lemon juice over the beans before serving. For added crunch and savory flavor, toss with toasted slivered almonds or crispy bacon bits.
Q: Is a quick release necessary for this recipe
A: Yes, a quick release is essential. It stops the cooking process immediately, which prevents the green beans from becoming overcooked and mushy, preserving their perfect texture.
Pro Tips for Success
- Add the green beans and butter together at the start so the beans steam in the butter and absorb its flavor rather than plain water.
- Trim the beans to uniform lengths so they cook evenly in the short pressure cycle.
- Quick-release as soon as the timer beeps to keep the beans crisp-tender; a natural release softens them past their best.
- Toss with toasted slivered almonds or crispy bacon bits after cooking for extra texture and crunch.
Frequently Asked Questions
Can I use frozen green beans?
Yes, though fresh beans give a better bite. Reduce the cook time slightly since frozen beans are already softened.
Is this side dish keto?
Yes. Each serving has about 2.2 g net carbs with 5.9 g fat, most of it from the butter.
Can I make it ahead?
It is best fresh, but leftovers keep 3 days in the fridge. Reheat briefly so the beans stay crisp rather than olive-drab.
Can I double the recipe?
Yes, the pressure cook time stays the same — just make sure the beans sit below the fill line in the inner pot.
Recipe card below.

Instant Pot Garlic Butter Green Beans
Ingredients
Method
- Directions1.
- Add the green beans, butter, minced garlic, water, salt, and pepper to the inner pot of the Instant Pot.
- Stir gently to combine. 2. Secure the lid and turn the pressure release valve to the “Sealing” position. 3. Select “Manual” or “Pressure Cook” and set the timer to 5 minutes on High Pressure. 4.
- When the cooking cycle is complete, carefully perform a Quick Release by turning the valve to the “Venting” position. 5.
- Once the float valve drops, remove the lid.
- Taste and adjust seasoning if necessary, then serve hot.
- After cooking, toss with toasted slivered almonds or crispy bacon bits for added texture and crunch.