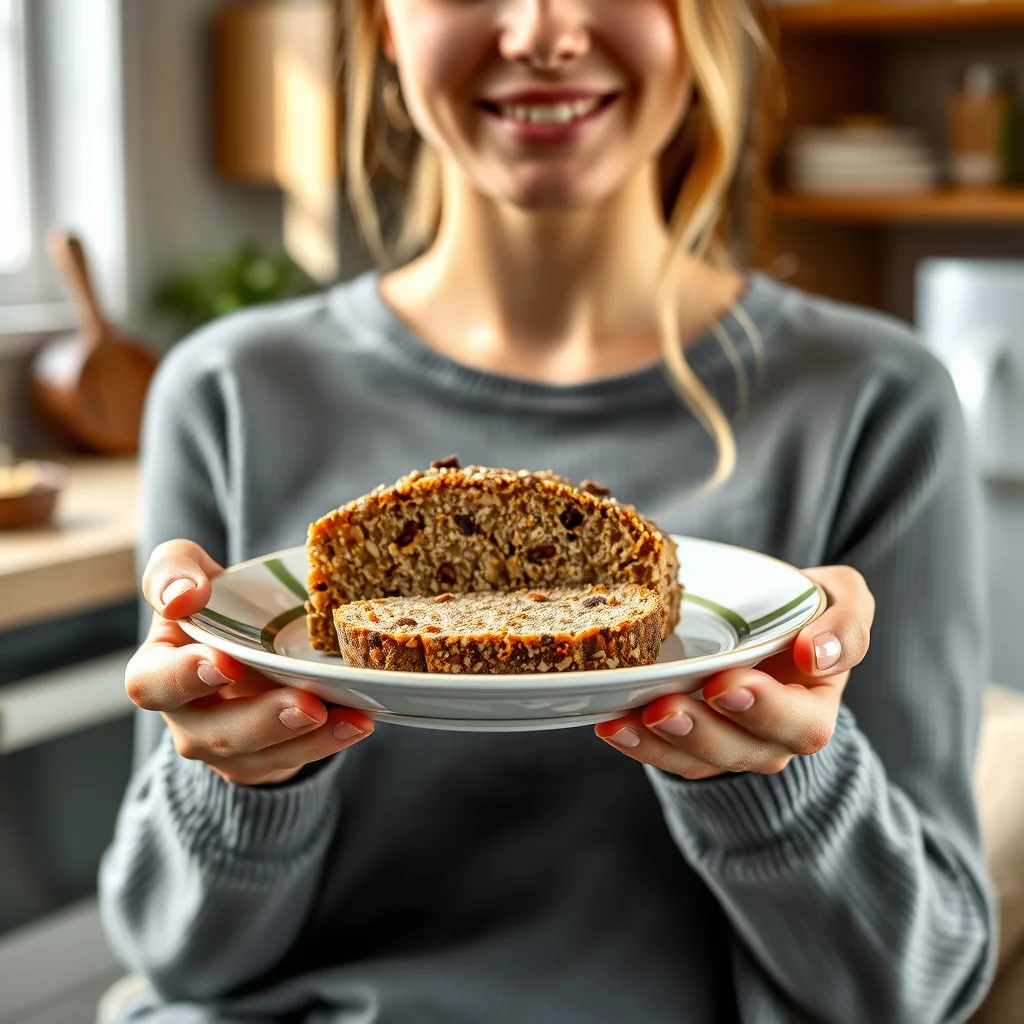
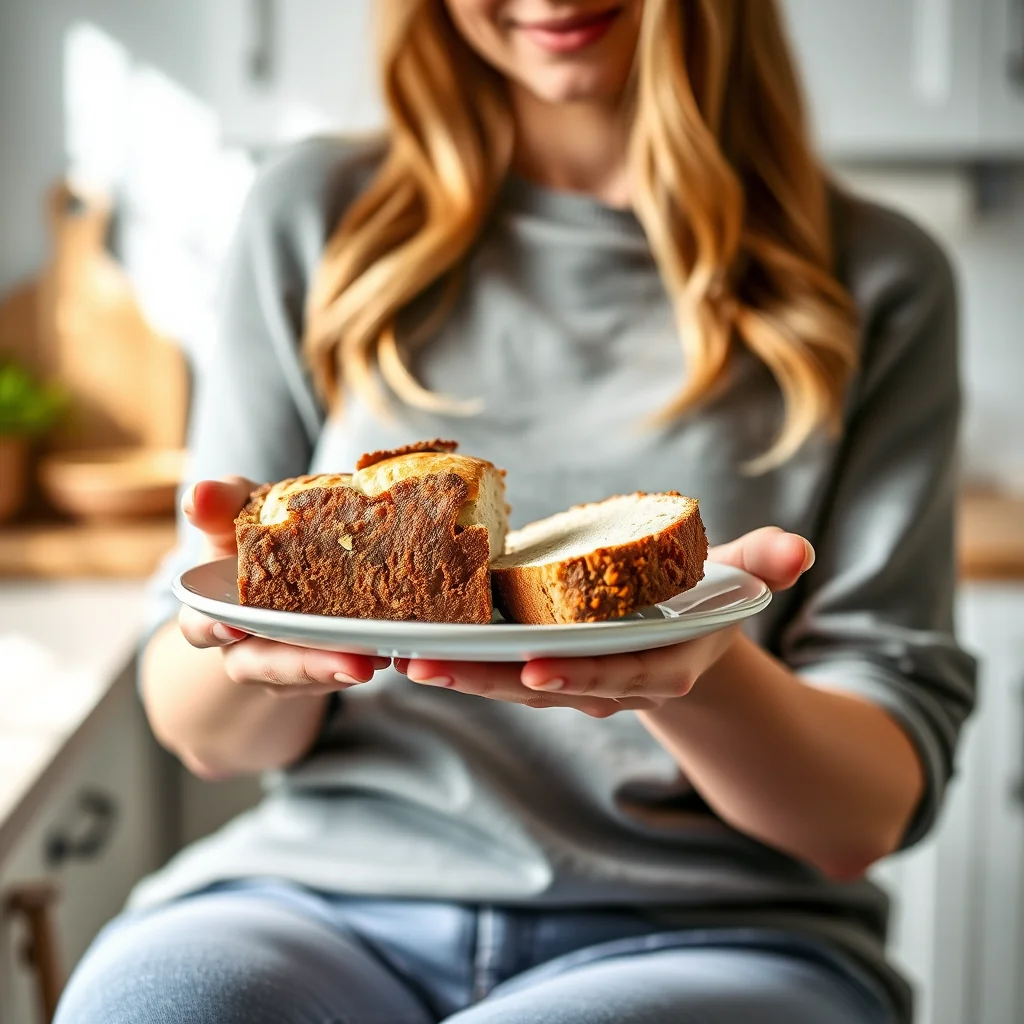
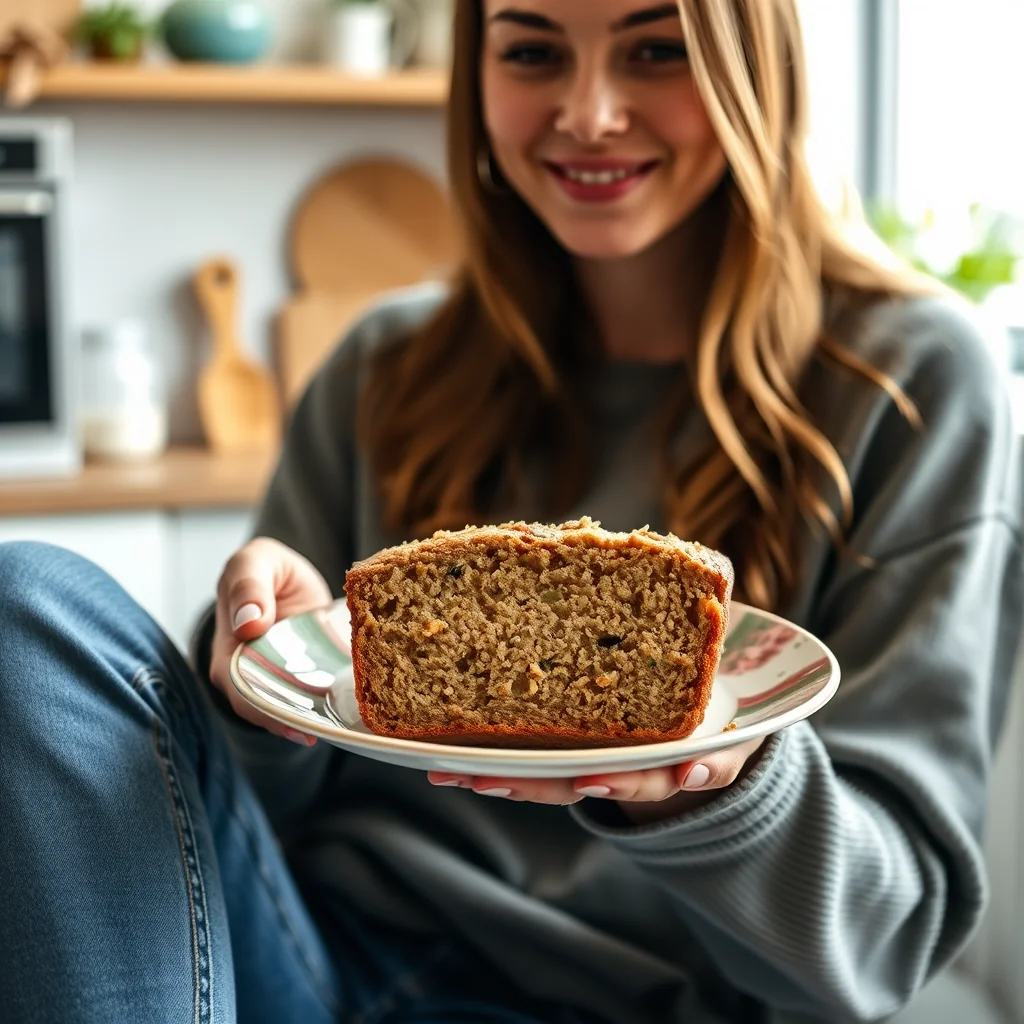
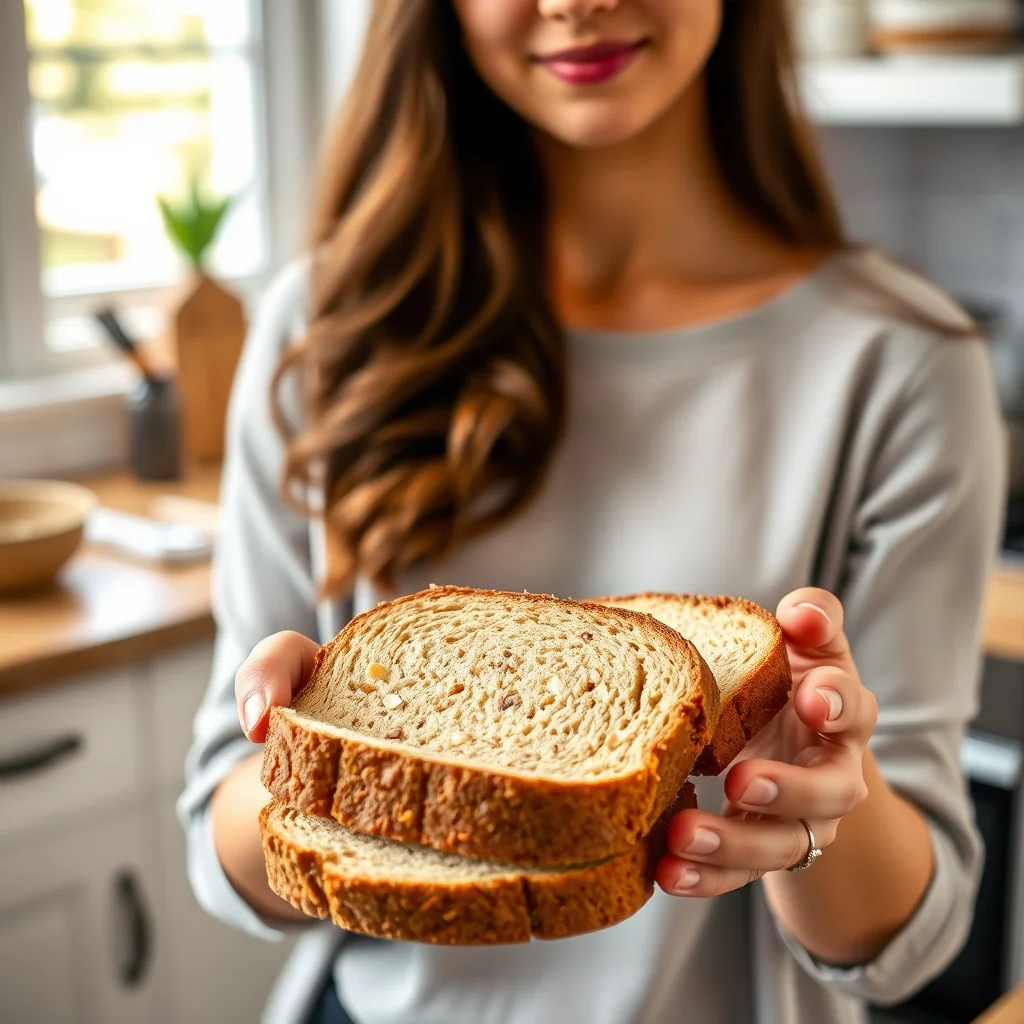
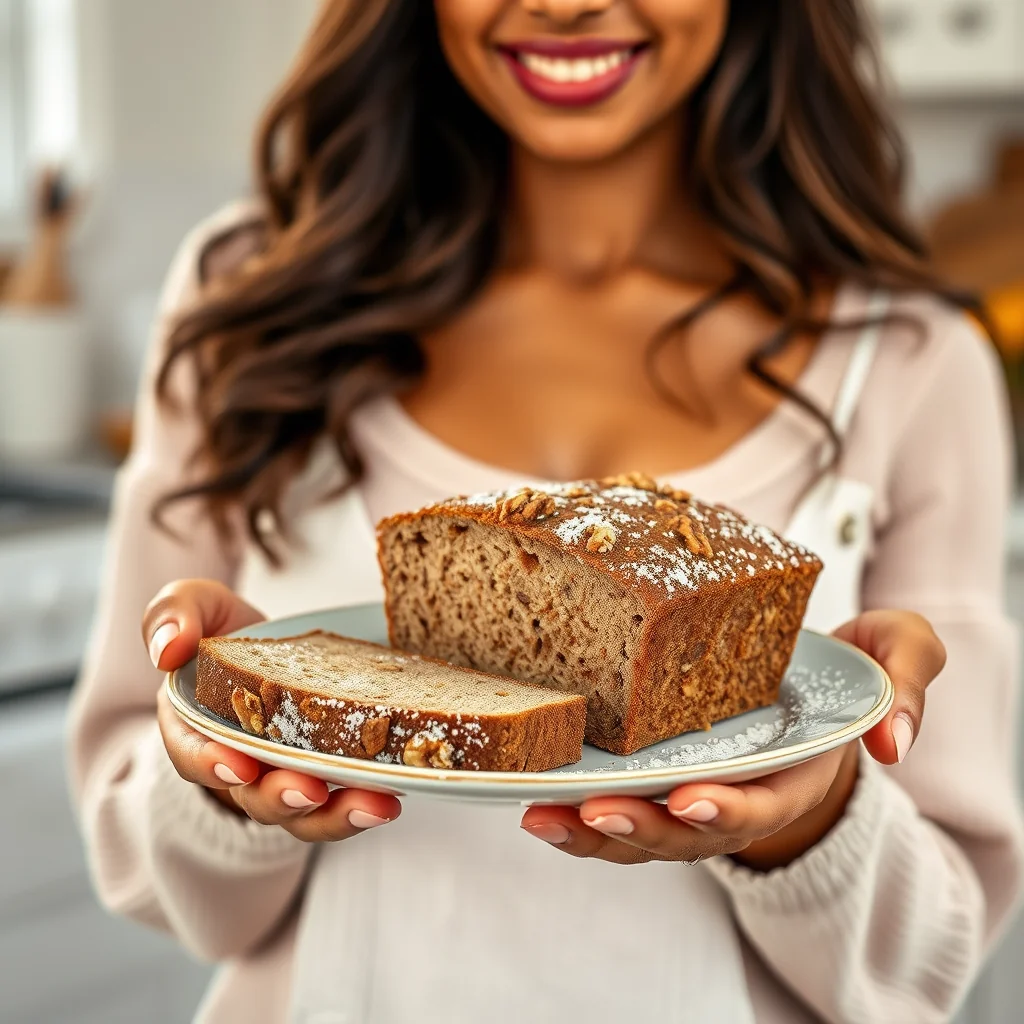
Rustic keto walnut bread is a hearty, free-form loaf with a crisp golden crust and plenty of chopped walnuts in every slice. Coconut flour and psyllium husk give it real bread structure without any grains. It's baked as a round on a tray with a scored top, and each serving has just 3.8 g net carbs.
Finding a truly satisfying bread on a keto or low-carb diet can feel like a quest for the impossible. But this rustic Keto Walnut Bread is here to change everything! It’s incredibly simple to make, requires no kneading, and bakes into a wonderfully dense, moist, and flavorful loaf. Packed with the earthy crunch of walnuts and made with wholesome ingredients like coconut flour and psyllium husk, it’s the perfect vessel for your favorite toppings, from avocado to butter. Say goodbye to cravings and hello to your new favorite gluten-free bread recipe!
Ingredients
• 1 tablespoon psyllium husk powder
• ¼ cup / 30 g (1.06 oz) coconut flour
• ½ cup / 120 g (4.2 oz) walnuts, chopped
• ¼ teaspoon salt
• ½ tablespoon baking powder
• 1 tablespoon (15 ml / 0.5 fl oz) apple cider vinegar
• 2 large eggs, room temperature
• 2 tablespoons coconut oil, melted
• ¼ cup / 60 ml (2 fl oz) boiling water
Instructions
1. Directions
2. Preheat your oven to 350°F / 175°C. Line a baking tray with parchment paper.
3. In a large mixing bowl, whisk together the coconut flour, psyllium husk powder, baking powder, and salt until well combined.
4. Add the room temperature eggs, melted coconut oil, and apple cider vinegar to the dry . Mix with a whisk or spatula until the mixture resembles coarse crumbs.
5. Fold in the chopped walnuts until they are evenly distributed throughout the mixture.
6. Gradually pour in the boiling water while continuously mixing. The dough will quickly thicken and come together into a smooth, cohesive ball.
7. Transfer the dough to your prepared baking tray and shape it into a round loaf. Use a sharp knife to score the top with a few shallow cuts.
8. Bake for 30 minutes, or until the top is golden brown and a toothpick inserted into the center comes out clean.
9. Allow the bread to cool on the pan for at least 20 minutes before transferring to a wire rack to cool completely. Slice into 6 servings and enjoy!
Nutritional Information
• Nutritional Info (Per Serving)
• Calories: 201 | Fat: 17.2 g | Protein: 5.4 g | Total Carbs: 8.3 g | Fiber: 4.5 g | Net Carbs: 3.8 g
Pro Tips
• For a deeper, richer flavor, toast the walnuts in a dry pan for 3-5 minutes until fragrant before adding them to the dough.
• The boiling water is crucial for activating the psyllium husk and creating the bread’s structure. Do not substitute with cold or warm water.
• Let the bread cool completely before slicing. Gluten-free and keto breads are fragile when warm, and cooling allows the crumb to set properly, preventing it from falling apart.
• Store leftover bread in an airtight container in the refrigerator for up to a week. It toasts beautifully from chilled.
FAQ
Q: Can I use almond flour instead of coconut flour
A: This recipe is specifically formulated for coconut flour, which is highly absorbent and works with the psyllium husk to create the bread’s structure. Substituting almond flour is not recommended as it would require significant changes to the liquid ingredients.
Q: Why is psyllium husk powder necessary for this keto bread
A: Psyllium husk powder is essential for creating the bread-like structure and moist crumb in this gluten-free recipe. It acts as a binder, mimicking the role of gluten, and helps the dough hold its shape.
Q: Can I substitute the walnuts with other nuts or seeds
A: Absolutely! You can easily swap the walnuts for an equal amount of other low-carb nuts like pecans or almonds, or even seeds like pumpkin or sunflower seeds for a different flavor and texture.
Q: How should I store this keto walnut bread
A: For best results, store the bread in an airtight container in the refrigerator for up to one week. It also freezes well and toasts beautifully directly from the fridge or freezer.
Pro Tips
- Pour the boiling water in gradually while mixing — the dough thickens fast and comes together into a smooth ball, and adding the water slowly keeps it lump-free.
- Score the top of the shaped loaf with a few shallow cuts before baking. It helps the bread bake evenly and gives that rustic bakery look.
- Fold the walnuts in while the dough is still crumbly so they distribute evenly instead of clumping in one spot once the dough comes together.
- Cool the loaf on the pan for at least 20 minutes and then completely on a rack. Warm keto bread is fragile and slices poorly; cold or toasted is best.
- Store the cooled loaf in the fridge for up to 4 days or freeze it whole for up to 2 months. Thick slices toast beautifully for breakfast with butter.
Frequently Asked Questions
Is this walnut bread keto-friendly?
Yes. Each of the 6 servings has 8.3 g of carbs with 4.5 g of fibre, leaving 3.8 g net carbs. The fat comes mainly from walnuts, coconut oil, and eggs.
Can I shape this into a loaf tin instead of a round?
You can bake it in a greased loaf pan, but the round free-form shape gives more crust in every slice. Just adjust the bake time slightly if the shape is deeper.
How do I keep it from crumbling when slicing?
Let it cool completely — the psyllium and coconut flour crumb sets as it cools. A serrated knife with a gentle sawing motion gives the cleanest slices.
Does it freeze well?
Very well. Cool it completely, wrap it tightly, and freeze for up to 2 months. Thaw in the fridge and rewarm slices in the oven to refresh the crust.
Recipe card below.
More Recipes You’ll Love
Rustic Keto Walnut Bread
Ingredients
Method
- Directions
- Preheat your oven to 350°F / 175°C.
- Line a baking tray with parchment paper.
- In a large mixing bowl, whisk together the coconut flour, psyllium husk powder, baking powder, and salt until well combined.
- Add the room temperature eggs, melted coconut oil, and apple cider vinegar to the dry .
- Mix with a whisk or spatula until the mixture resembles coarse crumbs.
- Fold in the chopped walnuts until they are evenly distributed throughout the mixture.
- Gradually pour in the boiling water while continuously mixing. The dough will quickly thicken and come together into a smooth, cohesive ball.
- Transfer the dough to your prepared baking tray and shape it into a round loaf. Use a sharp knife to score the top with a few shallow cuts.
- Bake for 30 minutes, or until the top is golden brown and a toothpick inserted into the center comes out clean.
- Allow the bread to cool on the pan for at least 20 minutes before transferring to a wire rack to cool completely.
- Slice into 6 servings and enjoy!
- Let the bread cool completely before slicing. Gluten-free and keto breads are fragile when warm, and cooling allows the crumb to set properly, preventing it from falling apart.