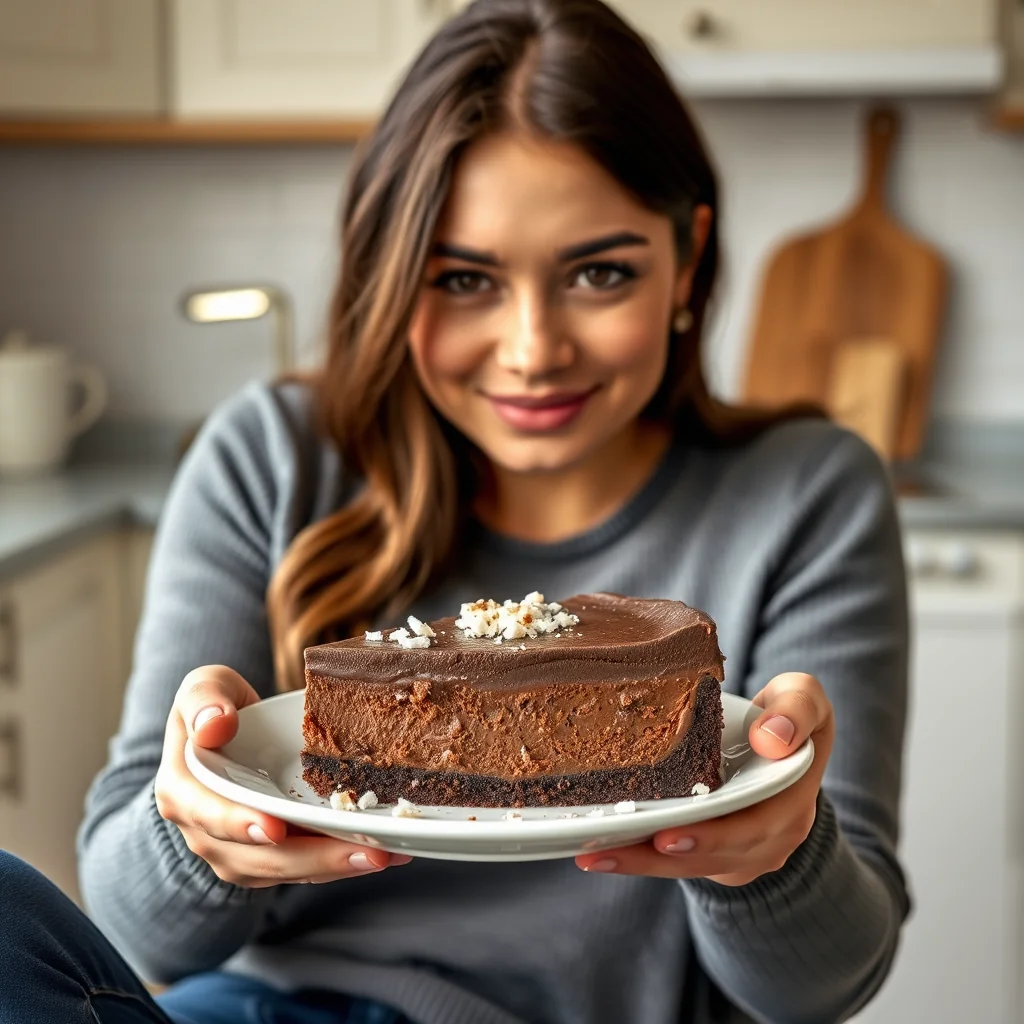
Instant Pot keto chocolate cheesecake pairs a fudgy cocoa crust with a velvety, intensely chocolatey filling. The crust pressure cooks in minutes while a smooth cream cheese and heavy cream filling waits, then everything chills overnight into a true showstopper. No water bath and no complicated technique required.
Craving a truly decadent dessert that won’t derail your keto lifestyle? Look no further! This Instant Pot Chocolate Cheesecake is the answer. It delivers a rich, fudgy crust and a velvety smooth, intensely chocolatey filling, all with the magical ease of pressure cooking. Say goodbye to complicated water baths and hello to your new favorite guilt-free indulgence! It’s the perfect make-ahead treat for any occasion.
Ingredients
• For the Chocolate Crust
• 1 cup / 96g (3.39 oz) almond flour
• 1 cup / 120g (4.2 oz) coconut flour
• ½ cup / 42g (1.48 oz) unsweetened cocoa powder
• ¼ cup / 48g (1.69 oz) Swerve or other erythritol-based sweetener
• ½ cup / 113g (4 oz) butter, melted
• 2 large eggs
• 2 tbsp / 30ml oil (for greasing)
• For the Cheesecake Filling
• 4 cups / 32 oz / 904g cream cheese, softened to room temperature
• ¾ cup / 180ml heavy cream
• ½ cup / 42g (1.48 oz) unsweetened cocoa powder
• 1 tsp / 5ml vanilla extract
• ½ tsp stevia powder (or to taste)
Instructions
1. In a large bowl, whisk together the almond flour, coconut flour, ½ cup of cocoa powder, and Swerve. Transfer the dry to a food processor, add the melted butter and eggs, and process until a thick dough forms. Set aside.
2. Brush a 7-inch springform pan with oil and line the bottom with a round of parchment paper. Press the crust mixture firmly and evenly into the bottom of the prepared pan.
3. Prepare your Instant Pot by pouring 1 ½ cups of water into the inner pot and placing the trivet inside. Gently lower the springform pan onto the trivet.
4. Cover the top of the springform pan loosely with a piece of aluminum foil to prevent condensation from dripping onto the crust.
5. Secure the Instant Pot lid and set the steam release handle to the ‘Sealing’ position. Select the ‘Manual’ or ‘Pressure Cook’ function and set the timer for 15 minutes at high pressure.
6. Once the cooking cycle is complete, allow the pressure to release naturally for 10-12 minutes. Afterward, carefully move the steam release handle to the ‘Venting’ position to release any remaining pressure.
7. Open the lid and carefully lift the springform pan out using the trivet handles. Remove the foil and let the crust cool completely to room temperature.
8. While the crust cools, prepare the filling. In a blender or a large bowl with a hand mixer, combine the softened cream cheese, heavy cream, the remaining ½ cup of cocoa powder, vanilla extract, and stevia powder. Blend until the mixture is completely smooth and creamy.
9. Pour the cheesecake filling evenly over the cooled crust in the springform pan. Smooth the top with a spatula.
10. Cover the cheesecake and refrigerate overnight, or for at least 8 hours, until fully set. Slice and serve chilled.
Nutritional Information
• Per Serving (1 of 10)
• Calories: 548
• Total Fat: 52g
• Net Carbs: 7.4g (0.26 oz)
• Fiber: 6.8g
• Protein: 12g
Pro Tips for Success
• for Success
• Ensure your cream cheese and heavy cream are at room temperature before mixing the filling. This is the key to a silky-smooth, lump-free texture.
• When blending the filling, mix only until just combined. Over-mixing can incorporate too much air, which may cause the cheesecake to crack as it sets.
• Don’t skip the overnight chilling! This crucial step allows the cheesecake to fully set and the rich chocolate flavors to meld together for the best possible taste.
• For an even deeper chocolate flavor, add one teaspoon of instant espresso powder to the filling mixture along with the cocoa powder.
FAQ
Q: Can I use a different sweetener in this keto cheesecake
A: Yes, the recipe suggests Swerve or another erythritol-based sweetener for the crust and stevia for the filling. You can substitute with your preferred keto-friendly sweetener, but you may need to adjust the amounts to achieve your desired sweetness.
Q: Why is my cheesecake filling not smooth
A: For a perfectly smooth, lump-free filling, it is essential that your cream cheese and heavy cream are at room temperature before you begin mixing. Cold ingredients are the most common cause of a lumpy texture.
Q: Do I really need to chill the cheesecake overnight
A: Yes, chilling the cheesecake for at least 8 hours, or overnight, is a crucial step. This allows the cheesecake to fully set and ensures the rich chocolate flavors have time to meld together for the best taste and texture.
Q: What size pan is best for this Instant Pot recipe
A: This recipe is specifically designed for a 7-inch springform pan, which fits perfectly on the trivet inside a standard Instant Pot.
Pro Tips for Success
- Ensure your cream cheese and heavy cream are at room temperature before mixing the filling — this is the key to a silky-smooth, lump-free texture.
- When blending the filling, mix only until just combined. Over-mixing incorporates too much air, which may cause the cheesecake to crack as it sets.
- Don't skip the overnight chilling — it allows the cheesecake to fully set and the rich chocolate flavors to meld together for the best possible taste.
- For an even deeper chocolate flavor, add one teaspoon of instant espresso powder to the filling along with the cocoa powder.
- Cover the springform pan loosely with aluminum foil before pressure cooking to keep condensation from dripping onto the crust.
Frequently Asked Questions
Is this chocolate cheesecake keto-friendly?
Each of the 10 slices has 7.4g net carbs with 52g fat and 12g protein — a rich, low-carb dessert for special occasions.
How long does the cheesecake need to chill?
Refrigerate it overnight, or for at least 8 hours, until fully set. Slice and serve it chilled.
Why did my cheesecake crack?
The filling was likely over-mixed. Blend only until just combined so excess air doesn't expand and crack the surface.
Can I make this cheesecake ahead of time?
Absolutely — it's designed for it. The long chill lets the chocolate flavors meld for the best possible taste.
Recipe card below.
Instant Pot Keto Chocolate Cheesecake
Ingredients
Method
- In a large bowl, whisk together the almond flour, coconut flour, ½ cup of cocoa powder, and Swerve.
- Transfer the dry to a food processor, add the melted butter and eggs, and process until a thick dough forms.
- Set aside.
- Brush a 7-inch springform pan with oil and line the bottom with a round of parchment paper. Press the crust mixture firmly and evenly into the bottom of the prepared pan.
- Prepare your Instant Pot by pouring 1 ½ cups of water into the inner pot and placing the trivet inside. Gently lower the springform pan onto the trivet.
- Cover the top of the springform pan loosely with a piece of aluminum foil to prevent condensation from dripping onto the crust.
- Secure the Instant Pot lid and set the steam release handle to the 'Sealing' position. Select the 'Manual' or 'Pressure Cook' function and set the timer for 15 minutes at high pressure.
- Once the cooking cycle is complete, allow the pressure to release naturally for 10-12 minutes.
- Afterward, carefully move the steam release handle to the 'Venting' position to release any remaining pressure.
- Open the lid and carefully lift the springform pan out using the trivet handles.
- Remove the foil and let the crust cool completely to room temperature.
- While the crust cools, prepare the filling.
- In a blender or a large bowl with a hand mixer, combine the softened cream cheese, heavy cream, the remaining ½ cup of cocoa powder, vanilla extract, and stevia powder.
- Blend until the mixture is completely smooth and creamy.
- Pour the cheesecake filling evenly over the cooled crust in the springform pan. Smooth the top with a spatula.
- Cover the cheesecake and refrigerate overnight, or for at least 8 hours, until fully set.
- Slice and serve chilled.
- When blending the filling, mix only until just combined. Over-mixing can incorporate too much air, which may cause the cheesecake to crack as it sets.
- Don't skip the overnight chilling! This crucial step allows the cheesecake to fully set and the rich chocolate flavors to meld together for the best possible taste.