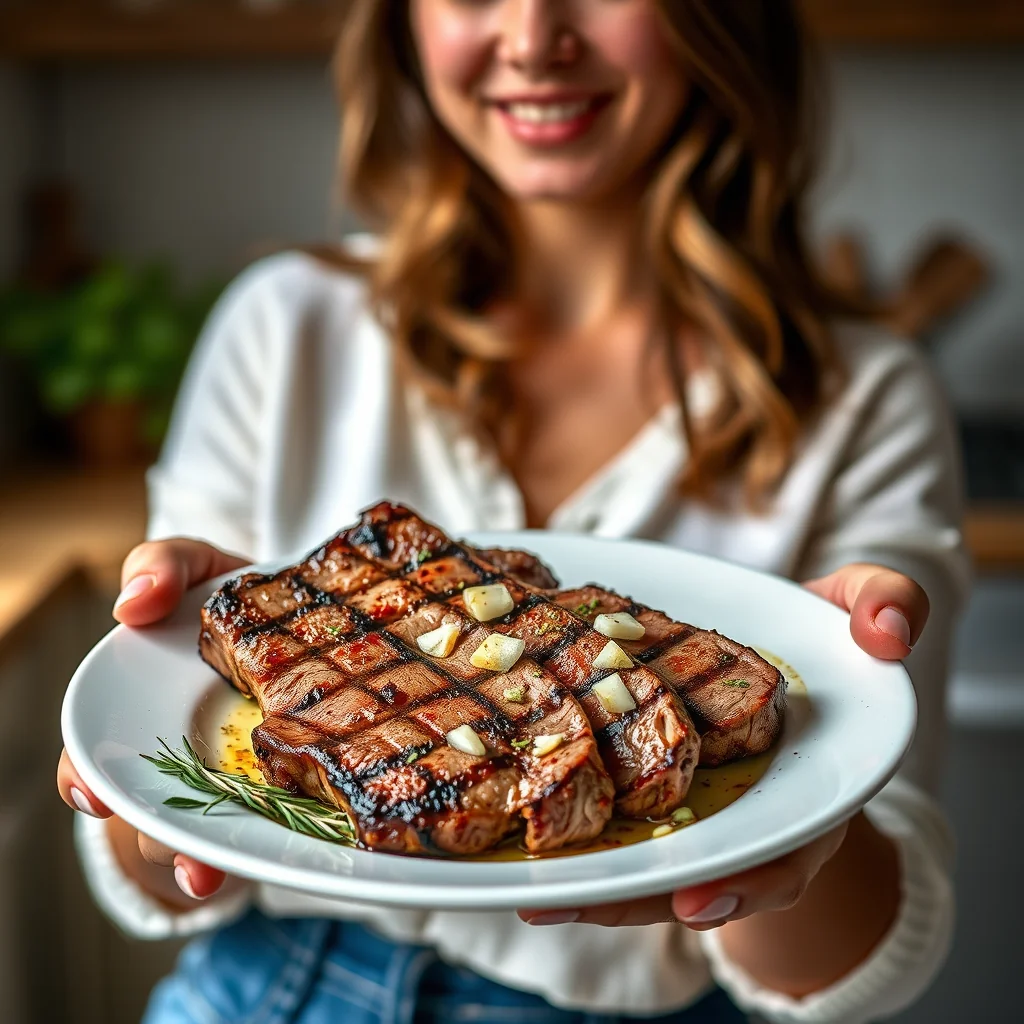
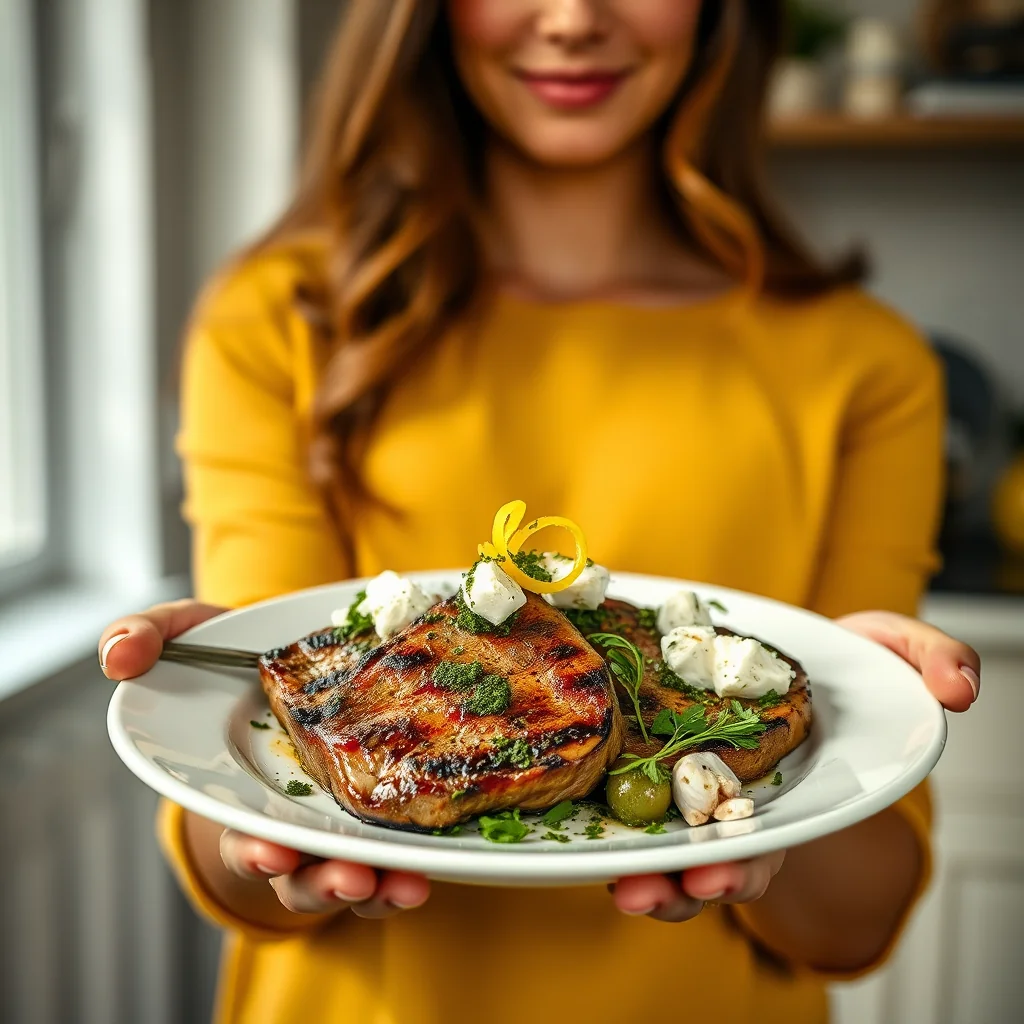
Baked garlic butter chicken roasts juicy thighs in a pool of melted butter, olive oil, lemon, and thinly sliced garlic until the skin turns deep golden. A shower of fresh parsley keeps every piece bright. One pan, 45 minutes, and just 2 g of carbs per serving.
Get ready for a recipe that will fill your kitchen with the most incredible aroma! This Baked Garlic Butter Chicken is the epitome of comfort food made simple. We’re talking tender, juicy chicken thighs with crispy skin, bathed in a rich garlic butter sauce with a hint of zesty lemon and fresh parsley. It’s a one-pan wonder that’s perfect for a busy weeknight but elegant enough for a special occasion. Minimal effort, maximum flavor—let’s get cooking!
Ingredients
• 2½ lbs / 1.1 kg (2.43 lb) chicken thighs, bone-in or boneless
• 5–10 cloves garlic, thinly sliced
• 4 tbsp / 57g (2.01 oz) unsalted butter, melted
• 2 tbsp / 30 ml olive oil
• 1 tbsp / 15 ml fresh lemon juice
• 8 tbsp / ½ cup finely chopped fresh parsley
• Salt and freshly ground black pepper, to taste
Instructions
1. Prepare for Baking: Preheat your oven to 400°F / 200°C. Pat the chicken thighs completely dry with paper towels for extra crispy skin.
2. Season the Chicken: Arrange the chicken thighs in a single layer in a baking dish or on a rimmed baking sheet. Drizzle with olive oil and season generously on all sides with salt and pepper.
3. Add Flavor: In a small bowl, whisk together the melted butter and lemon juice. Pour this mixture evenly over the chicken. Sprinkle the sliced garlic and half of the chopped parsley over the top.
4. Bake to Perfection: Place the baking dish in the preheated oven and bake for 25-35 minutes, or until the chicken is golden brown, crispy, and cooked through. The internal temperature should reach 165°F / 74°C when checked with a meat thermometer.
5. Garnish and Serve: Remove the chicken from the oven. Garnish with the remaining fresh parsley. Let it rest for 5 minutes before serving to allow the juices to redistribute.
Nutritional Information
• Serving Size: 1 thigh
• Calories: 380 kcal
• Protein: 32g
• Fat: 27g
• Carbohydrates: 2g
• (Note: is an estimate and may vary based on used.)
Pro Tips for Success
• for Success
• For the crispiest skin, make sure to pat the chicken thighs completely dry with a paper towel before adding any oil or seasonings.
• To prevent the garlic from burning, you can add it during the last 10-15 minutes of baking instead of at the beginning.
• Let the chicken rest for at least 5 minutes after taking it out of the oven. This crucial step allows the juices to settle, ensuring a more tender and flavorful bite.
• Feel free to add other herbs like rosemary or thyme, or a pinch of red pepper flakes for a little heat.
FAQ
Q: Can I use chicken breasts instead of thighs for this recipe
A: Yes, you can use chicken breasts. Since they are leaner, you may need to reduce the baking time to prevent them from drying out. Always cook to an internal temperature of 165°F / 74°C for best results.
Q: How do I get the chicken skin extra crispy
A: The most important step for extra crispy skin is to pat the chicken thighs completely dry with paper towels before you add any oil or seasonings. A dry surface is key to achieving that perfect golden-brown crisp.
Q: How can I prevent the garlic from burning
A: To prevent the sliced garlic from burning, especially if it’s cut very thin, you can add it to the baking dish during the last 10-15 minutes of cooking. This will allow it to become fragrant and golden without scorching.
Q: What can I serve with this garlic butter chicken
A: This dish pairs wonderfully with roasted vegetables like asparagus or broccoli, mashed potatoes to soak up the sauce, fluffy rice, or a simple side salad.
Pro Tips for Success
- Pat the chicken thighs completely dry with paper towels before adding any oil or seasoning. Dry skin is the entire secret to crispiness.
- If the garlic slices start browning too fast, add them during the last 10-15 minutes of baking instead of at the beginning.
- Bake to an internal temperature of 165°F / 74°C, then rest the chicken for 5 minutes before serving so the juices redistribute into the meat.
- Bone-in or boneless thighs both work — bone-in stays juicier, while boneless pieces may need a few minutes less in the oven.
- Rosemary, thyme, or a pinch of red pepper flakes all play well alongside the parsley and garlic butter.
Frequently Asked Questions
Is this garlic butter chicken keto?
Each thigh has 2 g of carbs with 32 g protein and 27 g fat. The sauce is butter, olive oil, lemon, and garlic — nothing else.
How do I keep the chicken skin crispy?
Dry the thighs thoroughly, arrange them in a single layer, and roast at 400°F / 200°C. Crowding the pan or wet skin leads to flabby results.
Can I use chicken breasts instead?
Breasts work in the same bake but dry out faster — pull them at 165°F and spoon the garlic butter over generously to keep them moist.
Does it keep for leftovers?
Refrigerate for 3-4 days and rewarm in the oven so the skin re-crisps. The microwave will soften it but still tastes good.
Recipe card below.

Baked Garlic Butter Chicken
Ingredients
Method
- Prepare for Baking: Preheat your oven to 400°F / 200°C.
- Pat the chicken thighs completely dry with paper towels for extra crispy skin.
- Season the Chicken: Arrange the chicken thighs in a single layer in a baking dish or on a rimmed baking sheet.
- Drizzle with olive oil and season generously on all sides with salt and pepper.
- Add Flavor: In a small bowl, whisk together the melted butter and lemon juice.
- Pour this mixture evenly over the chicken.
- Sprinkle the sliced garlic and half of the chopped parsley over the top.
- Bake to Perfection: Place the baking dish in the preheated oven and bake for 25-35 minutes, or until the chicken is golden brown, crispy, and cooked through. The internal temperature should reach 165°F / 74°C when checked with a meat thermometer.
- Garnish and Serve: Remove the chicken from the oven.
- Garnish with the remaining fresh parsley.
- Let it rest for 5 minutes before serving to allow the juices to redistribute.
- Let the chicken rest for at least 5 minutes after taking it out of the oven. This crucial step allows the juices to settle, ensuring a more tender and flavorful bite.