Homemade beef broth is the quiet secret behind better cooking — roasted grass-fed beef bones, carrots, celery, onion, garlic, and a splash of apple cider vinegar turning into a deeply savory stock. One afternoon in the Instant Pot gives you enough base to transform soups, braises, and sauces all week long.
The Secret to Better Cooking: Homemade Beef Broth
Forget the bland, salty cartons from the grocery store. The real secret to next-level soups, stews, and sauces is a rich, deeply flavorful homemade beef broth. It’s the kind of kitchen staple that transforms good meals into unforgettable ones. For years, making it meant a stockpot simmering for hours on the stove, but not anymore! This Instant Pot recipe delivers that same slow-simmered taste and gelatinous goodness in a fraction of the time. Get ready to create your own liquid gold!
Ingredients
• 3-4 lbs / 1.4-1.8 kg (3.97 lb) grass-fed roasted beef bones
• 3 large carrots, peeled and halved
• 4 celery ribs, roughly chopped
• 1 large yellow onion, halved
• 2 large garlic cloves, mashed
• 1 tbsp / 15 ml apple cider vinegar
• 1 bay leaf
• Salt, to taste
• Filtered water, to cover
Instructions
1. Directions
2. Combine : Place the roasted beef bones, carrots, celery, onion, mashed garlic, apple cider vinegar, and bay leaf into the inner pot of your Instant Pot.
3. Add Water: Pour in enough filtered water to cover all the by about an inch, being careful not to exceed the max fill line.
4. Pressure Cook: Secure the lid and turn the pressure valve to the “Sealing” position. Select “Manual” or “Pressure Cook” and set the timer for 75 minutes on High Pressure.
5. Natural Release: Once the cooking cycle is complete, allow the pressure to release naturally. This is crucial for a clear broth and can take 20-30 minutes. The float valve will drop when it’s safe to open.
6. Strain the Broth: Carefully open the lid and strain the broth through a fine-mesh sieve into a large, heatproof bowl or pot. Discard the solids.
7. Cool and Skim: Let the broth cool to room temperature. For the best results, transfer it to a container and refrigerate overnight. This allows the fat to solidify on top.
8. Store: The next day, simply skim the solidified layer of fat from the surface. Your broth is now ready to use! Store it in an airtight container in the refrigerator for 5-7 days or freeze for up to 4 months.
Nutritional Information
• Per Serving: Calories 351 | Total Fat 11.3g (0.4 oz) | Net Carbs 0.32g (0.01 oz) | Protein 55.4g (1.95 oz) | Fiber 1.5g (0.05 oz)
Pro Tips for Success
• Pro-Tips for Perfect Broth
• The Acid is Key: Don’t skip the apple cider vinegar! The acid helps break down the collagen and connective tissues in the bones, extracting valuable nutrients and creating a more gelatinous, nutrient-dense broth.
• Roast Your Veggies: For an even deeper, caramelized flavor, toss the carrots, celery, and onion with a little oil and roast them at 400°F (200°C) for 20-25 minutes before adding them to the pot.
• Perfect Portions for Freezing: Freeze your broth in ice cube trays or silicone muffin tins. Once frozen, transfer the pucks to a freezer bag. This makes it easy to grab a small amount for deglazing a pan or a larger portion for soups.
FAQ
Q: Why use apple cider vinegar in beef broth
A: The acid in the apple cider vinegar is a key ingredient that helps break down the collagen and connective tissues in the beef bones. This process extracts more valuable nutrients and helps create a more gelatinous, nutrient-dense broth.
Q: What are the best bones for making beef broth
A: This recipe recommends using 3-4 lbs (1814 g / 64 oz) of grass-fed roasted beef bones. Roasting the bones before adding them to the pot is essential for developing a deep, rich flavor.
Q: How do I get a clear beef broth
A: The secret to a clear broth is allowing the pressure to release naturally from the Instant Pot after the cooking cycle is complete. This slow depressurization, which can take 20-30 minutes, prevents the broth from becoming cloudy. Straining through a fine-mesh sieve also helps.
Q: How long does homemade beef broth last
A: You can store your homemade beef broth in an airtight container in the refrigerator for 5-7 days. For longer-term storage, it freezes well for up to 4 months.
Pro Tips for Success
- Don't skip the apple cider vinegar — the acid breaks down collagen and connective tissue in the bones, giving you a more gelatinous, nutrient-dense broth.
- Since the bones are already roasted, toss the carrots, celery, and onion in a little oil and roast them alongside for extra caramelized depth.
- Cover everything with filtered water by about an inch, and never exceed the pot's max fill line for safe pressure cooking.
- Always let the pressure release naturally (20-30 minutes) — it's crucial for a clear broth and prevents hot liquid from spraying out of the valve.
- Freeze the cooled broth in ice cube trays or silicone muffin tins, then bag the pucks — small portions for deglazing, larger ones for soups.
Frequently Asked Questions
Why add apple cider vinegar to beef broth?
The acid helps break down collagen and connective tissue in the bones, extracting more nutrients and giving the finished broth a richer, more gelatinous body.
Can I make this broth ahead?
Definitely — it's built for batch cooking. Refrigerate it for 5-7 days or freeze it in portions for up to 4 months.
My broth didn't gel — did I do something wrong?
Gel depends on collagen-rich bones and cook time; roasting plus a full 75-minute high-pressure cook usually does it, though some batches simply gel less than others.
Is homemade beef broth keto?
Yes — each serving has 55.4g of protein, 11.3g of fat, and only 0.32g of net carbs, making it a dependable keto kitchen staple.
Recipe card below.
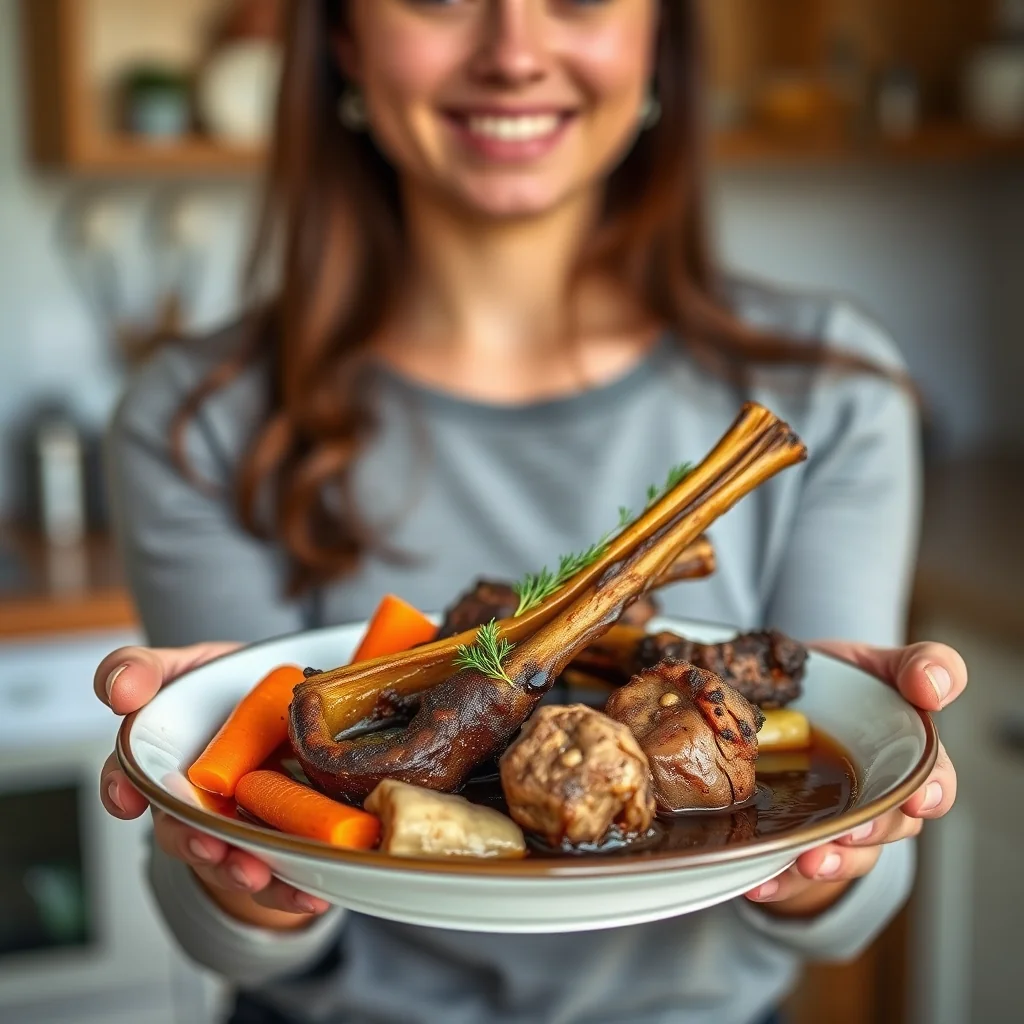
The Secret to Better Cooking: Homemade Beef Broth
Ingredients
Method
- Directions
- Combine : Place the roasted beef bones, carrots, celery, onion, mashed garlic, apple cider vinegar, and bay leaf into the inner pot of your Instant Pot.
- Add Water: Pour in enough filtered water to cover all the by about an inch, being careful not to exceed the max fill line.
- Pressure Cook: Secure the lid and turn the pressure valve to the Sealing position. Select Manual or Pressure Cook and set the timer for 75 minutes on High Pressure.
- Natural Release: Once the cooking cycle is complete, allow the pressure to release naturally. This is crucial for a clear broth and can take 20-30 minutes. The float valve will drop when it's safe to open.
- Strain the Broth: Carefully open the lid and strain the broth through a fine-mesh sieve into a large, heatproof bowl or pot.
- Discard the solids.
- Cool and Skim: Let the broth cool to room temperature. For the best results, transfer it to a container and refrigerate overnight. This allows the fat to solidify on top.
- Store: The next day, simply skim the solidified layer of fat from the surface. Your broth is now ready to use! Store it in an airtight container in the refrigerator for 5-7 days or freeze for up to 4 months.
- Roast Your Veggies: For an even deeper, caramelized flavor, toss the carrots, celery, and onion with a little oil and roast them at 400°F (200°C) for 20-25 minutes before adding them to the pot.