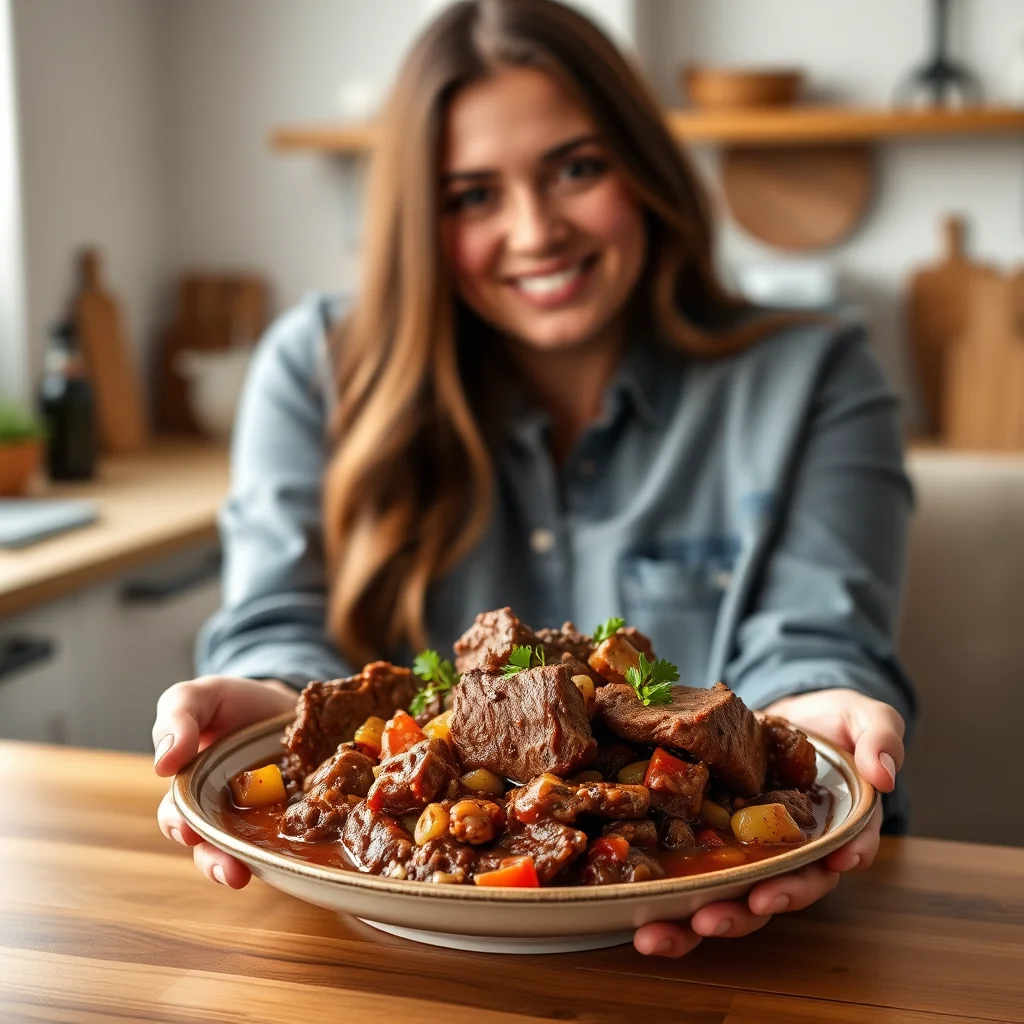
Instant pot beef chili (hearty & classic) is built from real beef chuck cubes rather than ground meat. Two pressure cycles give you fork-tender beef in a thick, smoky sauce of crushed tomatoes, mushrooms, and warm spices. It's a bowl with real substance, on the table in about 45 minutes.
There’s nothing quite like a steaming bowl of rich, hearty beef chili to warm you up from the inside out. This Classic Beef Chili recipe, adapted for the magic of the Instant Pot, delivers that soul-soothing comfort in a fraction of the time. We’re talking tender chunks of beef chuck, a savory blend of spices, and a deep, slow-simmered flavor that tastes like it’s been cooking all day. Forget standing over a stove for hours; this is your new go-to for a satisfying, flavor-packed meal that’s perfect for game day, a chilly evening, or any time a comfort food craving hits. Let’s get cooking!
Ingredients
• (Total Time: 45 MINS | Serves: 8)
• 1 tbsp / 15 ml olive oil
• 2 lbs / 900g (31.7 oz) grass-fed beef chuck roast, cut into 1-inch cubes
• Salt and freshly ground black pepper, to taste
• 2 tbsp / 30g (1.06 oz) ground cumin
• 1 tbsp / 15g (0.53 oz) chili powder
• 1 tbsp / 15g paprika
• 8 oz / 225g baby Portobello mushrooms, chopped
• 1 large green bell pepper, seeded and chopped
• 1 tsp / 5g crushed garlic
• 15 oz / 425g can crushed tomatoes
• 6 oz / 170g can tomato paste
• 1 cup / 240 ml beef broth
Instructions
1. Directions1. Set your Instant Pot to the “Sauté” function on high. Add the olive oil. Once hot, add the cubed beef, season generously with salt and pepper, and cook for 4-5 minutes, stirring occasionally, until browned on all sides.
2. Press “Cancel” to stop the sauté function. Pour in the beef broth and use a wooden spoon to scrape any browned bits from the bottom of the pot—this is where the flavor is!
3. Secure the lid, set the steam release valve to “Sealing,” and cook on “Manual” or “High Pressure” for 15 minutes.
4. Once the cooking time is complete, carefully perform a “Quick Release” by moving the steam valve to the “Venting” position until the float valve drops.
5. Carefully remove the lid. Stir in the ground cumin, chili powder, paprika, chopped mushrooms, bell pepper, crushed garlic, crushed tomatoes, and tomato paste until well combined.
6. Secure the lid again, ensure the valve is set to “Sealing,” and cook on “Manual” or “High Pressure” for another 10 minutes.
7. When the timer finishes, allow the pressure to do a “Natural Release” for at least 10 minutes before carefully venting any remaining steam.
8. Remove the lid, give the chili a final stir, and serve hot with your favorite toppings like shredded cheese, sour cream, or fresh cilantro.
Nutritional Information
• Per Serving: Calories 478 | Total Fat 34.2g (1.21 oz) | Net Carbs 1.11g (0.04 oz) | Protein 33.2g (1.17 oz) | Fiber 3.2g (0.11 oz)
Pro Tips for Success
• For a deeper flavor, brown the beef in two separate batches to ensure it gets a proper sear instead of steaming in the pot.
• Adjust the heat to your liking by adding a pinch of cayenne pepper or a chopped jalapeño along with the bell pepper.
• If your chili is thinner than you’d like, use the “Sauté” function after cooking to simmer and reduce it for 5-10 minutes until it reaches your desired consistency.
• This chili freezes beautifully! Let it cool completely, then store it in an airtight, freezer-safe container for up to 3 months for an easy weeknight meal.
FAQ
Q: Can I make this beef chili spicier
A: Yes, to add more heat to your chili, simply include a pinch of cayenne pepper or a chopped jalapeño at the same time you add the bell pepper and other vegetables.
Q: What should I do if my Instant Pot chili is too thin
A: If your chili is thinner than you’d like, use the ‘Sauté’ function after the pressure cooking is complete. Allow the chili to simmer for 5-10 minutes with the lid off, which will help it reduce and thicken to your desired consistency.
Q: Is this Instant Pot beef chili good for meal prep
A: Absolutely. This chili freezes beautifully. For best results, let it cool completely before storing it in an airtight, freezer-safe container. It can be frozen for up to 3 months, making it a perfect make-ahead meal.
Q: What is the best beef for this chili recipe
A: This recipe specifically calls for beef chuck roast cut into 1-inch cubes. This cut becomes exceptionally tender and flavorful when pressure cooked in the Instant Pot, providing the best texture for a hearty chili.
Pro Tips for Success
- Brown the beef in two separate batches so it sears properly instead of steaming in its own juices.
- The recipe uses two pressure cycles for a reason: the beef cooks first to tenderness, then the mushrooms, peppers, and tomatoes join for the final 10 minutes so they don't turn to mush.
- Deglaze with the beef broth and scrape up every browned bit — that fond is the flavor backbone of the chili.
- If the chili is thinner than you like, simmer it on Sauté for 5-10 minutes after cooking until it reduces to your preferred consistency.
- This chili freezes beautifully for up to 3 months — cool it completely first and store it in a freezer-safe container.
Frequently Asked Questions
Is this beef chili keto-friendly?
It's very low-carb at about 1.11 g net carbs per serving with 33.2 g protein and 34.2 g fat. The mushrooms bulk it up without adding carbs.
Can I make it with ground beef instead?
You can, but the cubed chuck is what gives this chili its stew-like, hearty character. If using ground beef, brown it first and use a single pressure cycle.
How long do leftovers keep?
Up to 4 days in the fridge in an airtight container, or up to 3 months in the freezer. Reheat gently with a splash of beef broth.
Why two cook cycles?
The beef needs 15 minutes to become tender, while the vegetables and tomatoes only need 10. Staggering them keeps the texture right in every ingredient.
Recipe card below.
Ingredients
Method
- Directions1.
- Set your Instant Pot to the Sauté function on high.
- Add the olive oil.
- Once hot, add the cubed beef, season generously with salt and pepper, and cook for 4-5 minutes, stirring occasionally, until browned on all sides.
- Press Cancel to stop the sauté function.
- Pour in the beef broth and use a wooden spoon to scrape any browned bits from the bottom of the pot—this is where the flavor is!
- Secure the lid, set the steam release valve to Sealing, and cook on Manual or High Pressure for 15 minutes.
- Once the cooking time is complete, carefully perform a Quick Release by moving the steam valve to the Venting position until the float valve drops.
- Carefully remove the lid.
- Stir in the ground cumin, chili powder, paprika, chopped mushrooms, bell pepper, crushed garlic, crushed tomatoes, and tomato paste until well combined.
- Secure the lid again, ensure the valve is set to Sealing, and cook on Manual or High Pressure for another 10 minutes.
- When the timer finishes, allow the pressure to do a Natural Release for at least 10 minutes before carefully venting any remaining steam.
- Remove the lid, give the chili a final stir, and serve hot with your favorite toppings like shredded cheese, sour cream, or fresh cilantro.
- Adjust the heat to your liking by adding a pinch of cayenne pepper or a chopped jalapeño along with the bell pepper.