Instant Pot chicken broth is the simplest kind of kitchen magic: chicken pieces, a few vegetables, and water become a rich, golden base. Backs, necks, and wings give the broth its body and silky texture. Once you make it from scratch, the carton stuff just won't compare.
There’s nothing quite like a batch of homemade chicken broth. It’s the liquid gold that forms the backbone of countless comforting soups, savory stews, and flavorful sauces. While it might sound intimidating, using an Instant Pot transforms the process from an all-day affair into a simple, hands-off task. This recipe yields a rich, gelatinous broth that’s miles ahead of anything you can buy in a carton. Get ready to elevate your cooking with this essential kitchen staple!
Ingredients
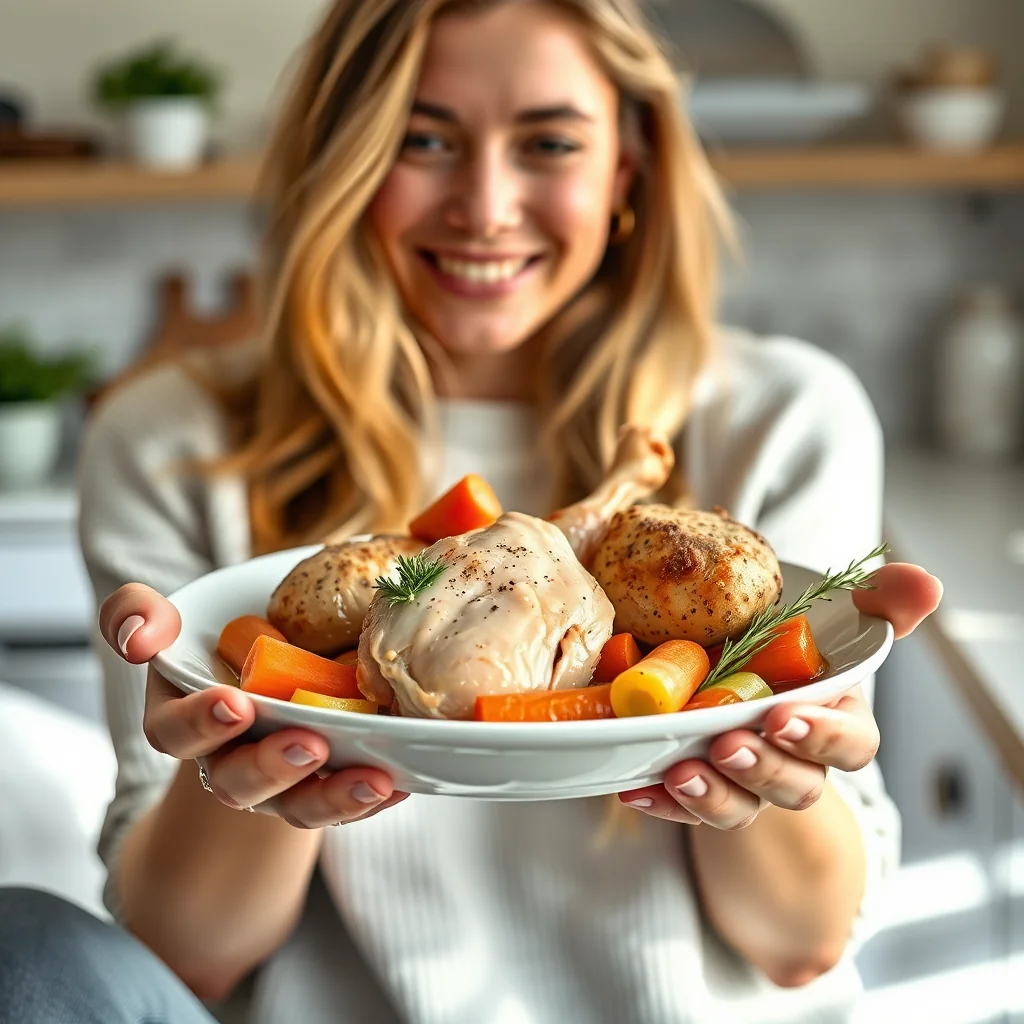
• 2 lbs / 900g (31.7 oz) grass-fed chicken pieces (backs, necks, and wings work best)
• 2 medium carrots, peeled and roughly chopped
• 2 celery ribs, roughly chopped
• ½ medium yellow onion, roughly chopped
• 10 cups (2400 ml) / 2.4 L filtered water
Instructions
1. Directions
2. Combine : Place the chicken pieces, carrots, celery, and onion into the inner pot of your Instant Pot. Pour in the 10 cups (2400 ml) of filtered water.
3. Pressure Cook: Secure the lid and turn the pressure release valve to the “Sealing” position. Select the “Manual” or “Pressure Cook” setting and set the timer for 90 minutes at high pressure.
4. Natural Release: Once the cooking cycle is complete, let the pressure release naturally. This can take 20-30 minutes. Once the float valve has dropped, carefully open the lid.
5. Strain: Carefully pour the broth through a fine-mesh strainer into a large bowl or pot to remove all the solids. Discard the solids.
6. Cool and Chill: Let the strained broth cool to room temperature on the counter. Once cooled, transfer it to a container and refrigerate overnight.
7. Skim the Fat: The next day, a layer of fat will have solidified on top of the broth. Easily skim this off with a spoon and discard or save for other uses.
8. Store: Your homemade broth is ready! Store it in an airtight container in the refrigerator for 5-7 days or in the freezer for up to 4 months.
Nutritional Information
• Per Serving: Calories 145 | Total Fat 2.8g (0.1 oz) | Net Carbs 0.18g (0.01 oz) | Protein 26.5g (0.93 oz) | Fiber 0.5g (0.02 oz)
• (Note: is an estimate and may vary based on used.)
Pro Tips for Success
• Pro-Tips for the Best Broth
• For a deeper, richer flavor, roast the chicken pieces and vegetables at 400°F (200°C) for 30 minutes before adding them to the Instant Pot.
• Add a bay leaf, a few whole black peppercorns, and parsley stems along with the other to create a more aromatic and complex broth.
• Freeze your finished broth in ice cube trays or silicone muffin tins. Once frozen, transfer the pucks to a freezer bag for perfectly portioned amounts.
• Chilling the broth overnight is the easiest way to remove the fat. It solidifies into a disc on top that you can lift right off.
FAQ
Q: What kind of chicken is best for making broth
A: This recipe recommends using chicken pieces that are rich in collagen, like backs, necks, and wings. These parts create a rich, gelatinous broth that is full of flavor.
Q: How long does homemade chicken broth last
A: You can store homemade chicken broth in an airtight container in the refrigerator for 5-7 days. For longer-term storage, it freezes well for up to 4 months.
Q: Can I make this broth more flavorful
A: Yes, for a deeper, richer flavor, you can roast the chicken pieces and vegetables for 30 minutes before adding them to the Instant Pot. You can also add a bay leaf, whole peppercorns, and parsley stems for a more aromatic broth.
Q: Why is my homemade broth like jelly when it’s cold
A: A gelatinous or jelly-like consistency when chilled is a sign of a high-quality, collagen-rich broth. The collagen is extracted from the chicken bones and connective tissue during the pressure cooking process and is highly desirable for its flavor and texture.
Pro Tips for Success
- Roast the chicken pieces and vegetables at 400°F (200°C) for 30 minutes before pressure cooking. That browning step is what turns pale stock into a deeply flavorful broth.
- Choose backs, necks, and wings over breast meat — their collagen and connective tissue are what give the finished broth body and a gentle, silky texture.
- Strain the broth through a fine-mesh sieve and press gently on the solids to extract every bit of flavor before discarding them.
- Cool the broth completely, refrigerate overnight, and skim the solidified fat layer before using or freezing. The broth will keep 4 days chilled or 3 months frozen.
Frequently Asked Questions
Why did my broth turn to jelly in the fridge?
That's a sign of a great broth — the collagen from the bones sets when chilled and melts right back into silky liquid when warmed.
Can I use leftover cooked chicken bones?
Yes, a cooked carcass or leftover roasted bones work fine. They may give slightly lighter body than raw backs and necks, but the flavor is still excellent.
How much water should I add?
Use 10 cups of filtered water to just cover the chicken and vegetables, and never go past the Instant Pot's max fill line. Overdiluting gives thin, watery broth.
Is homemade chicken broth keto-friendly?
Very much so — about 0.2g net carbs per serving. It's an ideal keto base for soups, sauces, and braises without adding any meaningful carbs.
Recipe card below.
Ingredients
Method
- Directions
- Combine : Place the chicken pieces, carrots, celery, and onion into the inner pot of your Instant Pot.
- Pour in the 10 cups (2400 ml) of filtered water.
- Pressure Cook: Secure the lid and turn the pressure release valve to the Sealing position. Select the Manual or Pressure Cook setting and set the timer for 90 minutes at high pressure.
- Natural Release: Once the cooking cycle is complete, let the pressure release naturally. This can take 20-30 minutes.
- Once the float valve has dropped, carefully open the lid.
- Strain: Carefully pour the broth through a fine-mesh strainer into a large bowl or pot to remove all the solids.
- Discard the solids.
- Cool and Chill: Let the strained broth cool to room temperature on the counter.
- Once cooled, transfer it to a container and refrigerate overnight.
- Skim the Fat: The next day, a layer of fat will have solidified on top of the broth. Easily skim this off with a spoon and discard or save for other uses.
- Store: Your homemade broth is ready! Store it in an airtight container in the refrigerator for 5-7 days or in the freezer for up to 4 months.
- Add a bay leaf, a few whole black peppercorns, and parsley stems along with the other to create a more aromatic and complex broth.
- Freeze your finished broth in ice cube trays or silicone muffin tins.
- Once frozen, transfer the pucks to a freezer bag for perfectly portioned amounts.
- Chilling the broth overnight is the easiest way to remove the fat. It solidifies into a disc on top that you can lift right off.