Garlicky chicken broth (Instant Pot) is liquid gold brimming with deep, savory flavor and gut-loving nutrients. Six garlic cloves, fresh herbs, and wholesome vegetables transform simple chicken bones into something special. The Instant Pot does the heavy lifting in about two and a half hours of hands-off cooking.
There’s nothing quite like a cup of warm, homemade chicken broth to soothe the soul. Forget the store-bought cartons; this Garlicky Chicken Broth is liquid gold, brimming with deep, savory flavor and gut-loving nutrients. Infused with a generous amount of garlic, aromatic herbs, and wholesome veggies, this recipe uses the magic of the Instant Pot to transform simple ingredients into a rich, gelatinous broth in a fraction of the time. It’s the perfect foundation for your favorite soups or a comforting, nourishing drink all on its own.
Ingredients
• 3-4 lbs / 1.4-1.8 kg (3.97 lb) grass-fed chicken bones or carcass
• 3 medium carrots, peeled and halved
• 3 celery ribs, chopped
• 1 medium yellow onion, skin-on and quartered
• 6 garlic cloves, lightly smashed
• 1 bay leaf
• 8-10 whole black peppercorns
• ½ cup / 15 g (0.53 oz) mixed fresh herbs like sage, rosemary, thyme, and parsley
• 1 tbsp / 15 ml apple cider vinegar
• Salt, to taste
• Filtered water, to cover
Instructions
1. Directions
2. Place the chicken bones, carrots, celery, onion, garlic, bay leaf, peppercorns, fresh herbs, and apple cider vinegar into the inner pot of your Instant Pot.
3. Pour in enough filtered water to cover all the , ensuring you don’t go past the max fill line.
4. Secure the lid and turn the pressure release valve to the ‘Sealing’ position.
5. Select the ‘Manual’ or ‘Pressure Cook’ setting and set the timer for 120 minutes on High Pressure.
6. Once the cooking cycle is complete, allow the pressure to release naturally. This can take 20-30 minutes.
7. Carefully open the lid. Using a fine-mesh sieve or cheesecloth-lined colander, strain the broth into a large bowl or pot, discarding the solids.
8. Let the broth cool to room temperature on the counter.
9. Transfer the cooled broth to airtight containers and refrigerate overnight.
10. The next day, a layer of fat will have solidified on top. Easily skim this off with a spoon and discard or save for cooking.
11. Store the finished broth in the refrigerator for up to 7 days or freeze in portions for up to 4 months.
Nutritional Information
• (Per Serving)
• Calories: 221
• Total Fat: 4.4g
• Net Carbs: 0.38g (0.01 oz)
• Protein: 38.8g
• Fiber: 1.7g
Pro Tips for Success
• For a deeper, richer flavor, roast the chicken bones and vegetables at 400°F / 200°C for 20-30 minutes until golden brown before adding them to the Instant Pot.
• The apple cider vinegar is crucial as it helps break down the collagen in the bones, resulting in a more gelatinous and nutrient-dense broth.
• Freeze broth in ice cube trays or silicone muffin molds for perfectly portioned amounts that are easy to add to sauces, grains, or sautés.
• Wait to salt the broth until after it’s finished. This gives you more control over the final seasoning, especially if you plan to use it in other recipes.
FAQ
Q: Why is my chicken broth not gelatinous
A: A gelatinous broth relies on collagen extracted from the bones. To ensure a good gel, use a high ratio of bones to water, include collagen-rich parts like necks and feet if possible, and don’t skip the apple cider vinegar, which helps break down the collagen.
Q: Can I make this chicken broth on the stovetop instead of an Instant Pot
A: Absolutely. To make this on the stovetop, combine all ingredients in a large stockpot, bring to a boil, then reduce heat to a very low simmer. Cover and cook for at least 4-6 hours. Strain and store as directed in the recipe.
Q: Do I have to roast the chicken bones first
A: Roasting the bones is an optional step, but highly recommended for a deeper, richer flavor. It caramelizes the bones and vegetables, which translates to a more robust, golden-colored broth. If you’re short on time, you can skip this step.
Q: How long does homemade chicken broth last
A: You can store the finished broth in an airtight container in the refrigerator for up to one week. For longer-term storage, freeze it in portions for up to 4 months.
Pro Tips for Success
- Roast the chicken bones and vegetables at 400°F (200°C) for 20-30 minutes until golden first. It's the simplest upgrade for a deeper, more rounded broth.
- Don't skip the apple cider vinegar — it helps break down the collagen in the bones, giving you a more gelatinous, nutrient-dense broth that sets when chilled.
- Leave the onion skin on and quartered. The skins add a lovely golden color to the finished broth at no extra cost.
- Wait to salt the broth until after it's finished. This gives you full control, especially since the liquid reduces and intensifies as it cools and stores.
Frequently Asked Questions
Why is my broth gelatinous when chilled?
That's exactly what you want. A jelly-like set means the collagen extracted from the bones — it melts back into silky broth when reheated.
How long does this garlicky broth keep?
Up to 4 days in the fridge or 3 months in the freezer. Cool it completely first and skim the solidified fat cap before portioning it out.
Can I use a rotisserie chicken carcass?
Yes, a cooked carcass works well and adds roasted flavor of its own. Simmer it for the same time; you may want to reduce the added salt since rotisserie chicken is seasoned.
Is this broth keto-friendly?
Very much so — around 0.4g net carbs per serving. The garlic, herbs, and vinegar add plenty of flavor without meaningful carbs.
Recipe card below.
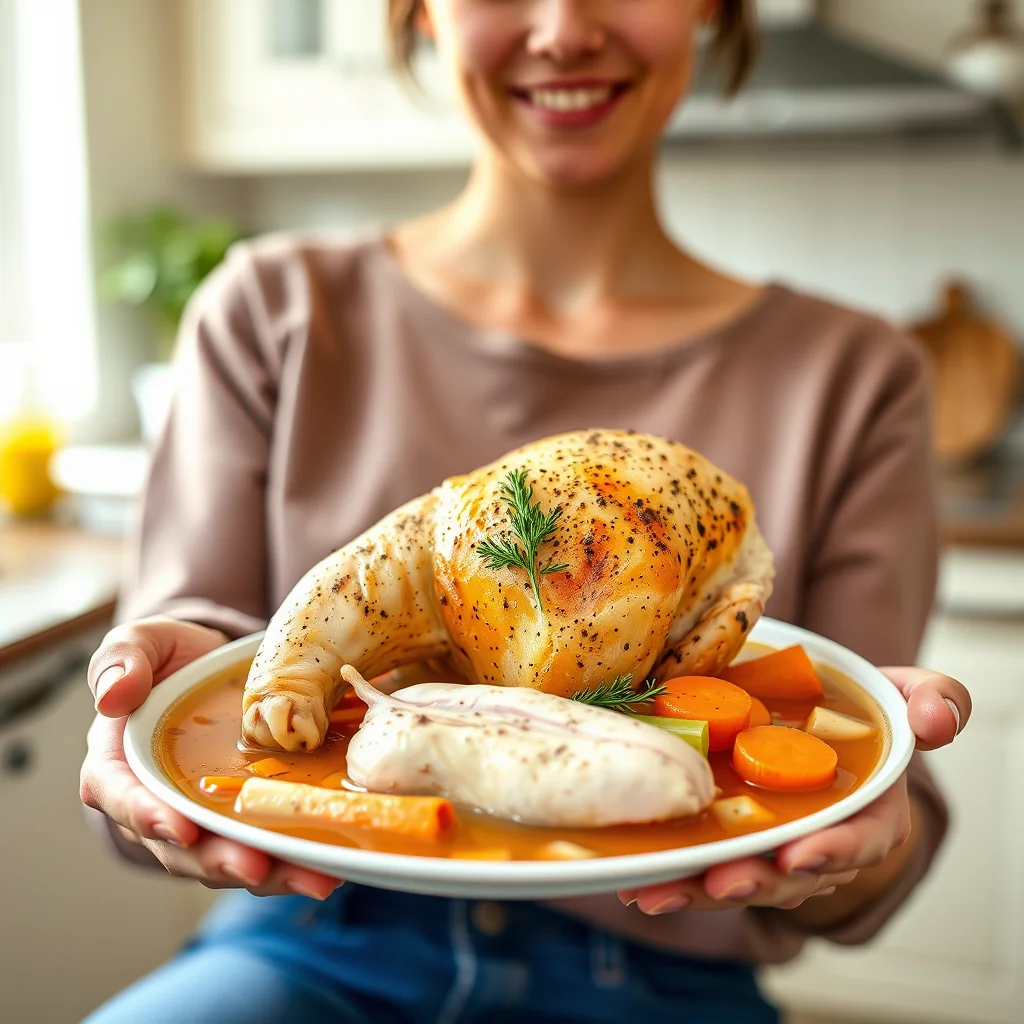
Garlicky Chicken Broth (Instant Pot)
Ingredients
Method
- Directions
- Place the chicken bones, carrots, celery, onion, garlic, bay leaf, peppercorns, fresh herbs, and apple cider vinegar into the inner pot of your Instant Pot.
- Pour in enough filtered water to cover all the , ensuring you don't go past the max fill line.
- Secure the lid and turn the pressure release valve to the 'Sealing' position.
- Select the 'Manual' or 'Pressure Cook' setting and set the timer for 120 minutes on High Pressure.
- Once the cooking cycle is complete, allow the pressure to release naturally. This can take 20-30 minutes.
- Carefully open the lid.
- Using a fine-mesh sieve or cheesecloth-lined colander, strain the broth into a large bowl or pot, discarding the solids.
- Let the broth cool to room temperature on the counter.
- Transfer the cooled broth to airtight containers and refrigerate overnight.
- The next day, a layer of fat will have solidified on top. Easily skim this off with a spoon and discard or save for cooking.
- Store the finished broth in the refrigerator for up to 7 days or freeze in portions for up to 4 months.
- Freeze broth in ice cube trays or silicone muffin molds for perfectly portioned amounts that are easy to add to sauces, grains, or sautés.