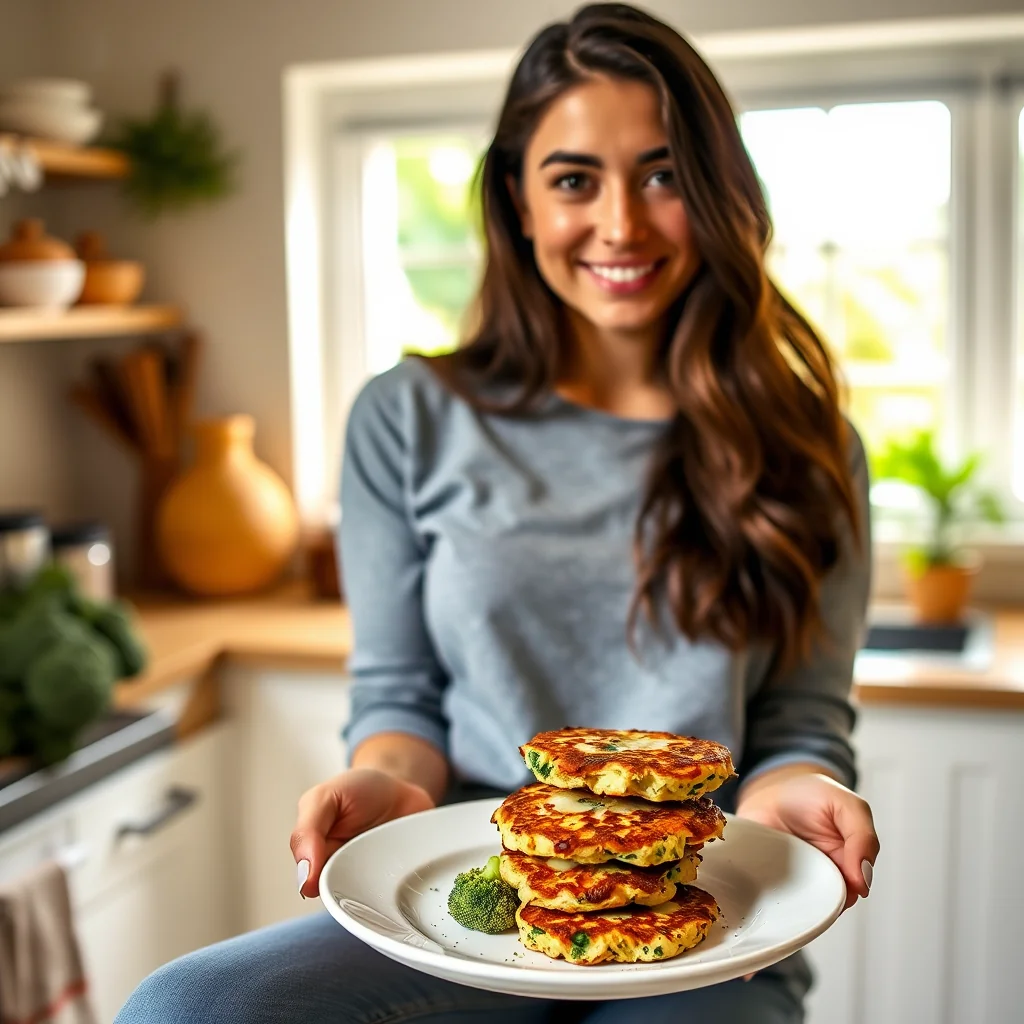
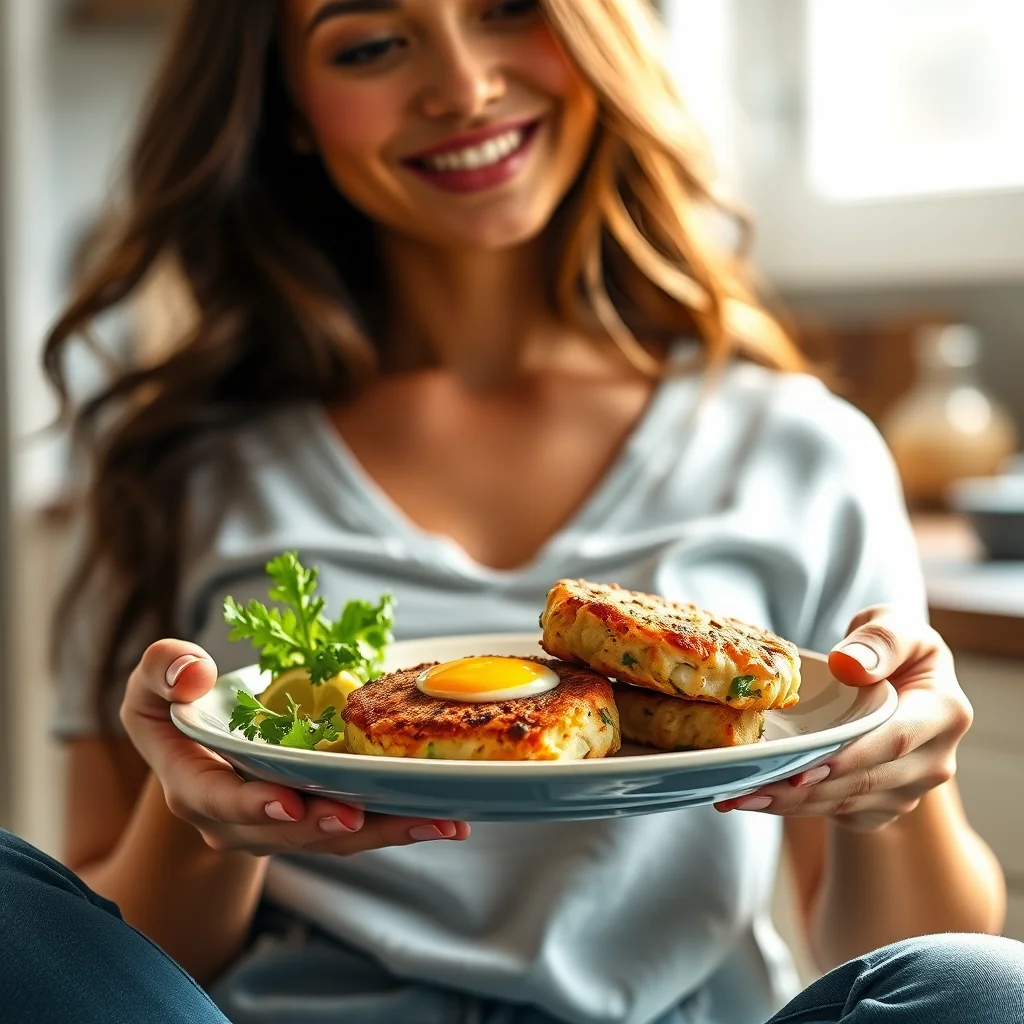
Golden Mahi-Mahi Cakes (Low-Carb & Gluten-Free) turn a humble can of fish into crisp-edged patties worth serving to guests. Egg yolks, minced onion, and seafood seasoning bind the flaked mahi-mahi, which bakes to set before a quick sear. Each serving has just 1.5g of carbs and 22.2g of protein.
Craving a meal that feels a little fancy without the fuss? These Golden Mahi-Mahi Cakes are your new weeknight hero! They’re the perfect answer when you want something light, satisfying, and incredibly fast. Using just a few pantry staples, we’ll transform simple canned fish into crispy, flavor-packed patties that are naturally low-carb and gluten-free. Get ready to impress yourself (and everyone else) with this simple, elegant seafood dinner!
Ingredients
• Mahi-Mahi (Canned): 1 can, 12 oz / 340g, thoroughly drained and flaked
• Seafood Seasoning: 2 tsp, 0.35 oz / 10g
• Egg Yolks: 3 large yolks, approx. 1.9 oz / 54g
• Onion: 0.25 cup, 1.4 oz / 40g, minced finely
• Olive Oil: 3 tbsp, 1.5 fl oz / 45ml, for frying
• Fresh Chives: 1 tsp, 0.1 oz / 3g, chopped, for garnish
• Fresh Parsley: 2 tsp, 0.2 oz / 6g, chopped, for garnish
• Lemon: 4 wedges, for serving
Instructions
1. Prep Oven & Pan: Preheat your oven to 350°F / 175°C. Lightly grease a baking dish to prevent the cakes from sticking.
2. Combine : In a large mixing bowl, combine the drained Mahi-Mahi, seafood seasoning, egg yolks, and minced onion. Mix until everything is well incorporated.
3. Shape the Patties: Scoop about 2 tablespoons (30 ml / 1 fl oz) of the mixture and use your hands to form a patty roughly 0.5 inches thick. Place it in the prepared baking dish and repeat with the remaining mixture.
4. Bake to Set: Place the baking dish in the preheated oven and bake for 15 minutes. This initial bake helps the cakes set so they don’t fall apart when frying.
5. Heat the Skillet: Towards the end of the baking time, heat the olive oil in a large skillet over medium-high heat until it shimmers.
6. Sear to Golden Perfection: Carefully transfer the baked patties to the hot skillet. Sear for about 2-3 minutes per side, until they are beautifully golden brown and crispy.
7. Garnish and Serve: Transfer the finished cakes to a serving platter. Garnish with fresh chives and parsley, and serve immediately with lemon wedges for squeezing.
Nutritional Information
• Calories: 223 kcal
• Total Fat: 14.3g
• Total Carbohydrates: 1.5g (0.05 oz)
• Dietary Fiber: 0.2g
• Protein: 22.2g
Pro Tips
• Chef’s
• Drain the Fish Well: Moisture is the enemy of crispy cakes. Squeeze the canned fish in a fine-mesh sieve or with paper towels to remove as much water as possible before mixing.
• Chill for Stability: If the mixture feels too loose, refrigerate the shaped patties for 10-15 minutes before baking. This helps them hold their shape perfectly in the pan.
• Flip with Care: These cakes are binder-free, making them tender. Use a thin, wide spatula to flip them gently in the skillet to keep that beautiful golden crust intact.
• Customize the Spice: For a touch of warmth, add a pinch of cayenne pepper or smoked paprika to the mix. It pairs beautifully with the fresh lemon.
FAQ
Q: Why are my mahi-mahi cakes falling apart
A: The most common reason is excess moisture. Ensure you drain the canned fish very thoroughly, squeezing out as much liquid as possible. The recipe’s initial 15-minute baking step is crucial for helping the binder-free cakes set before frying. For extra stability, you can also chill the shaped patties for 10-15 minutes before baking.
Q: Are these mahi-mahi cakes keto-friendly
A: Yes, absolutely. With only 1.5g (0.05 oz) of total carbohydrates per serving, these fish cakes are naturally low-carb and gluten-free, making them a perfect fit for a keto or low-carb diet.
Q: Can I make these fish cakes in an air fryer
A: While this recipe is designed for a bake-then-sear method, you could adapt it for an air fryer. After the initial 15-minute bake to set the patties, you could try air frying them at 400°F (200°C) for 4-6 minutes, flipping halfway, until golden and crispy.
Q: What can I serve with mahi-mahi cakes
A: These cakes are very versatile. They pair wonderfully with a simple green salad, a creamy coleslaw, or a side of steamed asparagus. For a dipping sauce, consider a classic tartar sauce, a spicy aioli, or just the fresh lemon wedges provided in the recipe.
Pro Tips
- Drain the canned mahi-mahi hard. Press it in a fine-mesh sieve or squeeze it with paper towels until almost dry, because leftover moisture is the enemy of a crisp cake.
- Give the shaped patties a 10-15 minute rest in the fridge if the mixture feels loose. Cold patties hold together far better when they hit the skillet.
- Don't skip the 15-minute pre-bake. It sets the binder-free cakes so they don't crumble when you transfer them to the hot oil.
- Flip with a thin, wide spatula and a gentle hand. These cakes are tender by design, and a rough flip tears the golden crust right off.
- For a warmer flavor profile, add a pinch of cayenne pepper or smoked paprika to the mixture before shaping; both play well with the lemon wedges served alongside.
Frequently Asked Questions
Can I make these mahi-mahi cakes ahead of time?
Yes. Shape the patties and refrigerate them for up to a day before baking and searing. You can also fully cook them and rewarm in a hot skillet to restore the crust.
Why do my fish cakes fall apart?
Usually the fish was too wet or the patties were flipped too early. Drain the canned mahi-mahi thoroughly and let the initial bake fully set the cakes before searing.
Can I use fresh mahi-mahi instead of canned?
You can, but the recipe is built around drained, flaked canned fish. Cook and flake any fresh fish first, then press out the moisture so the cakes bind the same way.
Are these cakes keto-friendly?
Very much so. One of the four servings has 1.5g total carbs and 22.2g of protein, with the fat coming from the egg yolks and olive oil sear.
Recipe card below.
More Recipes You’ll Love
- Instant Pot Crispy BBQ Chicken Wings (Keto, Sugar-Free)
- Instant Pot Garlic Lamb Meatballs
- Prosciutto-Wrapped Chicken and Broccoli Sheet Pan Meal
Golden Mahi-Mahi Cakes (Low-Carb & Gluten-Free)
Ingredients
Method
- Prep Oven & Pan: Preheat your oven to 350°F / 175°C. Lightly grease a baking dish to prevent the cakes from sticking.
- Combine : In a large mixing bowl, combine the drained Mahi-Mahi, seafood seasoning, egg yolks, and minced onion.
- Mix until everything is well incorporated.
- Shape the Patties: Scoop about 2 tablespoons (30 ml / 1 fl oz) of the mixture and use your hands to form a patty roughly 0. 5 inches thick.
- Place it in the prepared baking dish and repeat with the remaining mixture.
- Bake to Set: Place the baking dish in the preheated oven and bake for 15 minutes. This initial bake helps the cakes set so they don't fall apart when frying.
- Heat the Skillet: Towards the end of the baking time, heat the olive oil in a large skillet over medium-high heat until it shimmers.
- Sear to Golden Perfection: Carefully transfer the baked patties to the hot skillet.
- Sear for about 2-3 minutes per side, until they are beautifully golden brown and crispy.
- Garnish and Serve: Transfer the finished cakes to a serving platter.
- Garnish with fresh chives and parsley, and serve immediately with lemon wedges for squeezing.
- Drain the Fish Well: Moisture is the enemy of crispy cakes.
- Squeeze the canned fish in a fine-mesh sieve or with paper towels to remove as much water as possible before mixing.
- Chill for Stability: If the mixture feels too loose, refrigerate the shaped patties for 10-15 minutes before baking. This helps them hold their shape perfectly in the pan.
- Flip with Care: These cakes are binder-free, making them tender. Use a thin, wide spatula to flip them gently in the skillet to keep that beautiful golden crust intact.