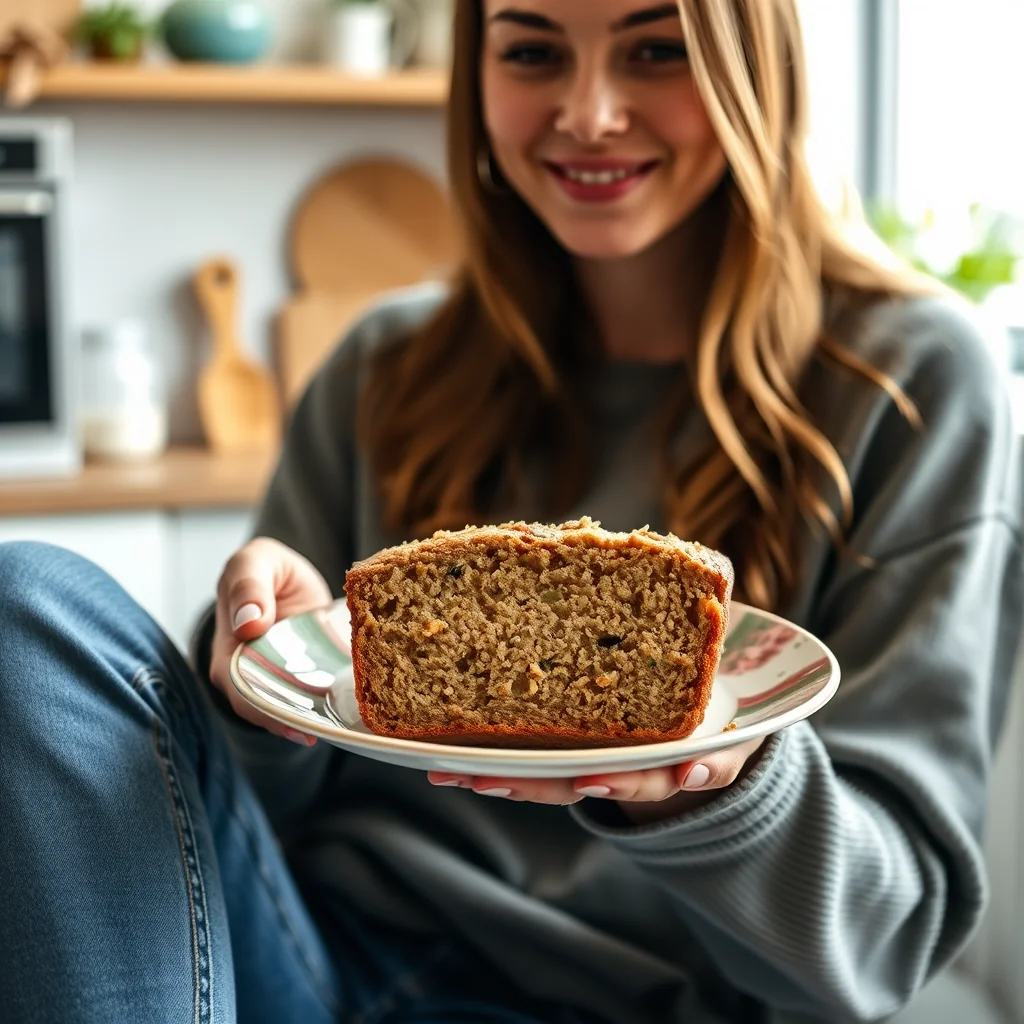
Keto Oat Fiber Bread is a rustic, low-carb loaf with just 0.1g of net carbs per slice. Oat fiber and psyllium husk hydrate with cream cheese, eggs, and boiling water into a dough you shape by hand – a round boule or an oblong loaf with a few shallow cuts across the top. It bakes slowly into a golden crust with a soft, moist crumb.
Craving a warm slice of bread but sticking to your keto goals? You’ve found the perfect recipe! This Keto Oat Fiber Bread is unbelievably soft, sturdy enough for sandwiches, and has a wonderfully mild flavor that’s perfect for toasting. Say goodbye to carb-heavy loaves and hello to your new favorite guilt-free staple. Let’s get baking!
Ingredients
• ½ cup / 50 g (1.76 oz) oat fiber, plus more for dusting
• 3 tbsp psyllium husk
• ½ tbsp baking powder
• ¼ tsp salt
• 1 cup / 200 g (7.1 oz) cream cheese, softened
• 2 large pasteurized eggs, room temperature
• 1 tbsp apple cider vinegar
• ¼ cup / 50 ml boiling water
Instructions
1. Preheat your oven to 300°F / 150°C. Line a baking sheet with parchment paper.
2. In a large mixing bowl, combine the dry : oat fiber, psyllium husk, baking powder, and salt. Whisk them together to ensure they are evenly distributed.
3. In a separate bowl, use an immersion blender or electric mixer to beat the room temperature eggs and softened cream cheese until the mixture is completely smooth and creamy.
4. Gradually add the dry ingredient mixture to the wet , mixing until just combined. Whisk in the apple cider vinegar, followed by the boiling water. The dough will thicken quickly.
5. Let the dough rest for 15-20 minutes. This allows the psyllium husk and oat fiber to absorb the liquid and create a workable, non-sticky dough.
6. Lightly dust a clean surface with a little extra oat fiber. Transfer the dough to the surface and shape it into your desired loaf form (a round boule or an oblong shape works well).
7. Place the loaf on your prepared baking sheet. Using a sharp knife, make a few shallow cuts across the top of the loaf for a rustic look.
8. Bake for 60-65 minutes. The bread is done when the crust is golden brown and a toothpick inserted into the center comes out clean.
9. Remove the bread from the oven and let it cool on the baking sheet for 10 minutes before transferring it to a wire rack to cool completely. This step is crucial for the best texture!
10. Once completely cool, slice into 10 servings and enjoy!
Nutritional Information
• Servings: 10
• Calories: 142
• Fat: 11.1 g
• Protein: 3.8 g
• Carbohydrates: 5.5 g
• Fiber: 5.4 g
• Net Carbs: 0.1 g (0 oz)
Pro Tips
• Ensure your eggs and cream cheese are at room temperature. This is key to achieving a smooth, lump-free batter without over-mixing.
• Do not skip the 20-minute rest time for the dough. This allows the oat fiber and psyllium to fully hydrate, resulting in a better bread structure and a less gummy texture.
• Let the loaf cool completely on a wire rack before slicing. Slicing while warm can cause the delicate, gluten-free structure to collapse and seem doughy.
• Store your cooled bread in an airtight container in the refrigerator for up to a week. Due to its high moisture content, it keeps best when chilled.
FAQ
Q: Is oat fiber actually keto friendly
A: Yes, oat fiber is perfect for a keto diet. It is made from the indigestible husk of the oat grain, meaning it is almost pure insoluble fiber. This recipe results in a bread with only 0.1g (0 oz) of net carbs per slice, making it an excellent choice for staying in ketosis.
Q: Can I substitute the oat fiber or psyllium husk
A: We do not recommend substituting the oat fiber or psyllium husk. These ingredients are essential for the bread’s structure and texture. Oat fiber provides the bulk without the carbs, and psyllium husk acts as a binder, which is crucial in this gluten-free recipe.
Q: Why is my keto bread gummy or wet inside
A: A gummy texture is usually caused by not letting the bread cool completely before slicing. This keto bread’s structure needs to set fully as it cools. Slicing it while warm can cause the delicate interior to collapse and feel doughy. Also, ensure you let the dough rest for the full 15-20 minutes before baking to allow the fibers to properly absorb the liquid.
Q: How do I store this keto bread
A: Once the loaf has cooled completely, store it in an airtight container in the refrigerator. Due to its high moisture content from the cream cheese, it keeps best when chilled and will last for up to a week.
Pro Tips
- Do not skip the 15-20 minute dough rest. It lets the oat fiber and psyllium fully hydrate, giving the bread better structure and less gumminess.
- Use room temperature eggs and cream cheese so the batter goes smooth without over-mixing.
- Dust your work surface with a little extra oat fiber when shaping – the dough is moist and the dusting keeps it workable for a boule or oblong loaf.
- Bake at the low 300F (150C) for the full 60-65 minutes; the crust should be golden brown and a toothpick in the center should come out clean.
- Cool completely on a wire rack before slicing – the delicate gluten-free structure collapses if cut warm. Store the loaf chilled for up to a week.
Frequently Asked Questions
Why must the dough rest before shaping?
The 15-20 minute rest lets the oat fiber and psyllium husk absorb the liquid. Skipping it leaves the dough sticky and the finished bread gummy.
Is this oat fiber bread keto?
It is one of the lowest-carb breads around: 5.5g of carbohydrates with 5.4g of fiber, leaving just 0.1g of net carbs per slice alongside 11.1g of fat.
How should I store the loaf?
Keep the completely cooled bread in an airtight container in the refrigerator for up to a week. Its high moisture content means it keeps best when chilled.
Can I shape it as individual rolls?
Yes – the dough shapes well into a round boule or an oblong loaf, and smaller portions work too. Keep the total bake time in check and test with a toothpick.
Recipe card below.
More Recipes You’ll Love
- Keto Blueberry Bread with Walnut Streusel
- Easy Keto Bread with Almond and Coconut Flour
- Incredible Keto Cloud Bread Rolls

Keto Oat Fiber Bread
Ingredients
Method
- Preheat your oven to 300°F / 150°C.
- Line a baking sheet with parchment paper.
- In a large mixing bowl, combine the dry : oat fiber, psyllium husk, baking powder, and salt.
- Whisk them together to ensure they are evenly distributed.
- In a separate bowl, use an immersion blender or electric mixer to beat the room temperature eggs and softened cream cheese until the mixture is completely smooth and creamy.
- Gradually add the dry ingredient mixture to the wet , mixing until just combined.
- Whisk in the apple cider vinegar, followed by the boiling water. The dough will thicken quickly.
- Let the dough rest for 15-20 minutes. This allows the psyllium husk and oat fiber to absorb the liquid and create a workable, non-sticky dough.
- Lightly dust a clean surface with a little extra oat fiber.
- Transfer the dough to the surface and shape it into your desired loaf form (a round boule or an oblong shape works well).
- Place the loaf on your prepared baking sheet.
- Using a sharp knife, make a few shallow cuts across the top of the loaf for a rustic look.
- Bake for 60-65 minutes. The bread is done when the crust is golden brown and a toothpick inserted into the center comes out clean.
- Remove the bread from the oven and let it cool on the baking sheet for 10 minutes before transferring it to a wire rack to cool completely. This step is crucial for the best texture!
- Once completely cool, slice into 10 servings and enjoy!
- Do not skip the 20-minute rest time for the dough. This allows the oat fiber and psyllium to fully hydrate, resulting in a better bread structure and a less gummy texture.
- Let the loaf cool completely on a wire rack before slicing. Slicing while warm can cause the delicate, gluten-free structure to collapse and seem doughy.