Homemade dairy-free yogurt (keto, vegan) is thick, creamy, and genuinely cultured, with live bacteria and a fresh tang no store-bought carton delivers. Full-fat coconut milk and unsweetened almond milk thicken with agar agar, then culture overnight on a spoonful of vanilla coconut yogurt starter. Each serving lands at 4.5 g net carbs with all the gut-friendly payoff.
There’s nothing quite like the fresh, tangy taste of homemade yogurt, and going dairy-free shouldn’t mean missing out! While this recipe requires a yogurt maker and a food thermometer, they are a small investment for the reward: a full 5-oz serving of perfectly thick, creamy, and truly cultured vegan yogurt. Unlike store-bought versions that can be thin or overly sweet, this recipe gives you control and delivers all the gut-healthy benefits of live, active bacteria. Let’s get culturing!
Ingredients
• 570 g (20.1 oz) / 2 ½ cups Thai Kitchen unsweetened, full-fat coconut milk
• 274 g (9.7 oz) / 1 ¼ cups Blue Diamond Almond Breeze unsweetened almond milk
• 3 g (0.11 oz) / 1 tsp Eden Foods agar agar flakes, crushed into a fine powder
• 26 g (0.92 oz) / 2 tbsp So Delicious vanilla-flavored coconut milk-based yogurt (as starter culture)
• 10–15 drops Bickford vanilla flavor
Instructions
1. Prep and Sanitize. Before starting, thoroughly sterilize your yogurt jars, saucepan, whisk, and any other utensils to kill unwanted bacteria.
2. Heat the Milk Mixture. Pour the coconut milk, almond milk, and powdered agar agar into the saucepan. Whisk to combine and heat over medium, stirring constantly until the mixture reaches 160°F (71°C) on a food thermometer and the agar agar is fully dissolved.
3. Cool Down. Turn off the heat, cover the pan, and let the mixture cool until it reaches a temperature between 95–110°F (35–43°C). This is a crucial step and can take 2–3 hours.
4. Add the Starter. Once the milk has cooled to the proper temperature, gently whisk in the coconut milk yogurt starter and the vanilla flavor drops. Continue whisking until the mixture is completely smooth and the starter is fully incorporated.
5. Culture. Carefully pour the mixture into your prepared yogurt jars. Place them in the yogurt maker and culture according to the manufacturer’s directions. This recipe was tested with a 10-hour culturing time.
6. Chill and Set. When the culturing is complete, immediately seal the jars and place them in the refrigerator to chill and set for at least 6 hours before enjoying.
Nutritional Information
• Dietitian’s Corner
• Yield: Seven 5-oz servings
• Probiotic Power: This yogurt contains healthy bacteria, such as lactobacillus, which are known to promote a healthy digestive tract. Our bodies require a certain amount of these probiotic bacteria to help fight off harmful bacteria and maintain balance.
• Lactose-Free Benefits: Lactobacillus also helps the body digest lactose, so cultured foods like this are often beneficial for people with lactose intolerance.
Pro Tips
• Sterilize everything! Jars, lids, whisks, and thermometers must be sanitized to ensure only the beneficial bacteria thrive.
• For a thinner, drinkable yogurt, you can omit the agar agar entirely.
• Do not move, bump, or disturb the yogurt maker once the culturing process has begun, as this can ruin the final texture.
• Plan ahead for an easy workflow: Heat the milk around 6 p.m., let it cool while you have dinner, then mix in the starter and let it culture overnight. It will be ready to chill in the morning!
FAQ
Q: Can I make this recipe without a yogurt maker
A: No, this specific recipe requires a yogurt maker to maintain the consistent temperature needed for the 10-hour culturing process to be successful.
Q: How do I make this vegan yogurt thick
A: This recipe uses agar agar flakes as a thickener. When heated and dissolved with the milk mixture, it helps the yogurt achieve a perfectly thick and creamy consistency after it cultures and chills.
Q: Why does the milk need to cool before adding the starter
A: It is a crucial step to cool the milk mixture to 95–110°F (35–43°C). If the milk is too hot, it will kill the live bacteria in the starter yogurt, preventing your mixture from culturing properly.
Q: What kind of starter do I need for this yogurt
A: The recipe calls for a pre-made, dairy-free yogurt to act as the starter culture. Specifically, it was tested with So Delicious vanilla-flavored coconut milk-based yogurt to introduce the necessary live, active bacteria.
Pro Tips
- Sterilize everything before you start — jars, lids, saucepan, whisk, and thermometer — so only the beneficial bacteria thrive in the culture.
- Heat the milk mixture to 160°F (71°C) with the agar agar fully dissolved, then let it cool to 95–110°F (35–43°C) before whisking in the starter; adding it hot kills the culture.
- Once culturing begins, don't move, bump, or disturb the yogurt maker — a knocked jar can ruin the final texture.
- Prefer a thinner, drinkable yogurt? Omit the agar agar entirely and culture the milk mixture as is.
- Plan the evening around it: heat the milk around 6 p.m., let it cool over dinner, mix in the starter, and culture overnight so it's ready to chill in the morning.
Frequently Asked Questions
How long does this dairy-free yogurt take to make?
The cooling step alone takes 2–3 hours, and the recipe was tested with a 10-hour culturing time. After that, chill the jars for at least 6 hours before enjoying.
Is this yogurt keto-friendly?
Yes — unsweetened full-fat coconut milk and almond milk keep it at about 4.5 g net carbs per serving with 17.6 g of fat, and the vanilla flavoring is sugar-free.
Why did my yogurt turn out thin?
Agar agar is what gives it the thick, spoonable set — omit it and you get a thinner drinkable version. Also make sure the agar fully dissolved as the mixture hit 160°F (71°C).
Can I make it without a yogurt maker?
The recipe is tested in a yogurt maker, cultured for about 10 hours. Whatever setup you use, the important part is holding the jars at a steady, gentle culture temperature.
Recipe card below.
More Recipes You’ll Love
- Instant Pot Ginger Tilapia Fillets
- Baked Chicken Parmesan Meatballs (Low-Carb)
- Vibrant Homemade Harissa Paste (Keto-Friendly)
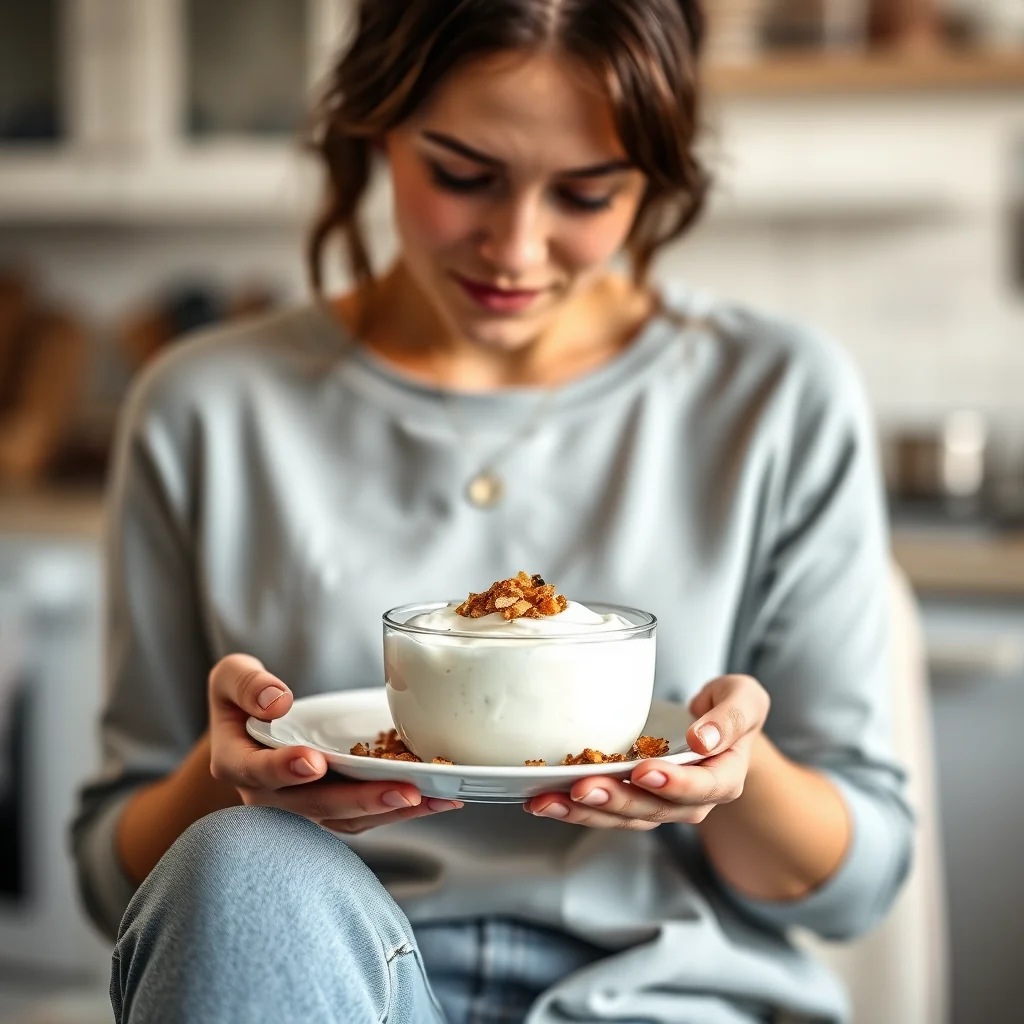
Homemade Dairy-Free Yogurt (Keto, Vegan)
Ingredients
Method
- Prep and Sanitize.
- Before starting, thoroughly sterilize your yogurt jars, saucepan, whisk, and any other utensils to kill unwanted bacteria.
- Heat the Milk Mixture.
- Pour the coconut milk, almond milk, and powdered agar agar into the saucepan.
- Whisk to combine and heat over medium, stirring constantly until the mixture reaches 160°F (71°C) on a food thermometer and the agar agar is fully dissolved.
- Cool Down.
- Turn off the heat, cover the pan, and let the mixture cool until it reaches a temperature between 95–110°F (35–43°C). This is a crucial step and can take 2–3 hours.
- Add the Starter.
- Once the milk has cooled to the proper temperature, gently whisk in the coconut milk yogurt starter and the vanilla flavor drops.
- Continue whisking until the mixture is completely smooth and the starter is fully incorporated.
- Culture. Carefully pour the mixture into your prepared yogurt jars.
- Place them in the yogurt maker and culture according to the manufacturer's directions. This recipe was tested with a 10-hour culturing time.
- Chill and Set.
- When the culturing is complete, immediately seal the jars and place them in the refrigerator to chill and set for at least 6 hours before enjoying.
- Do not move, bump, or disturb the yogurt maker once the culturing process has begun, as this can ruin the final texture.